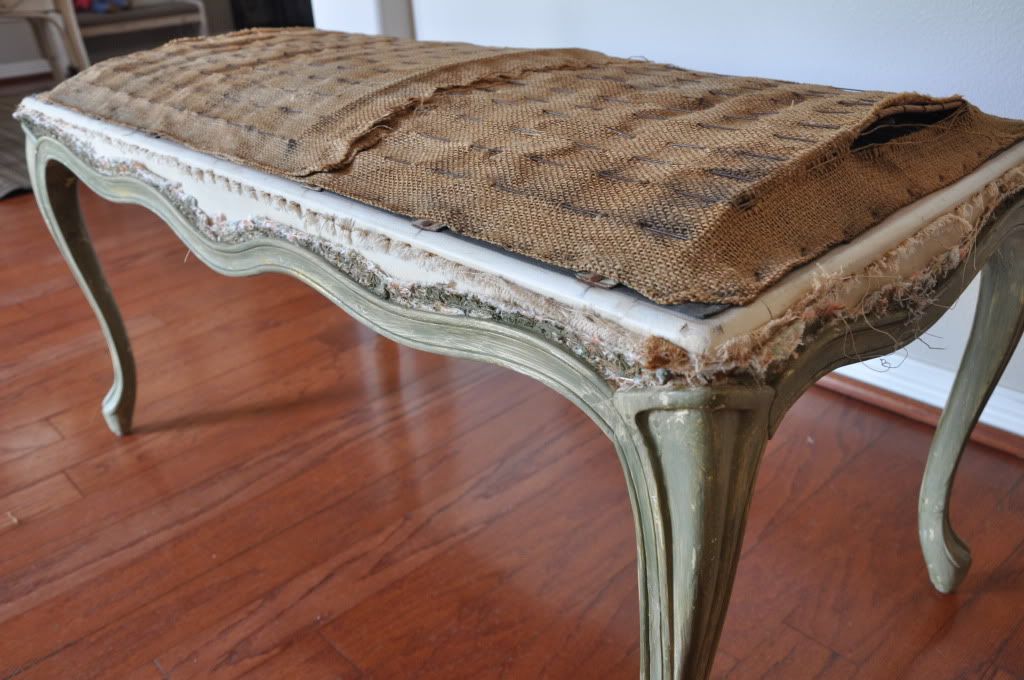
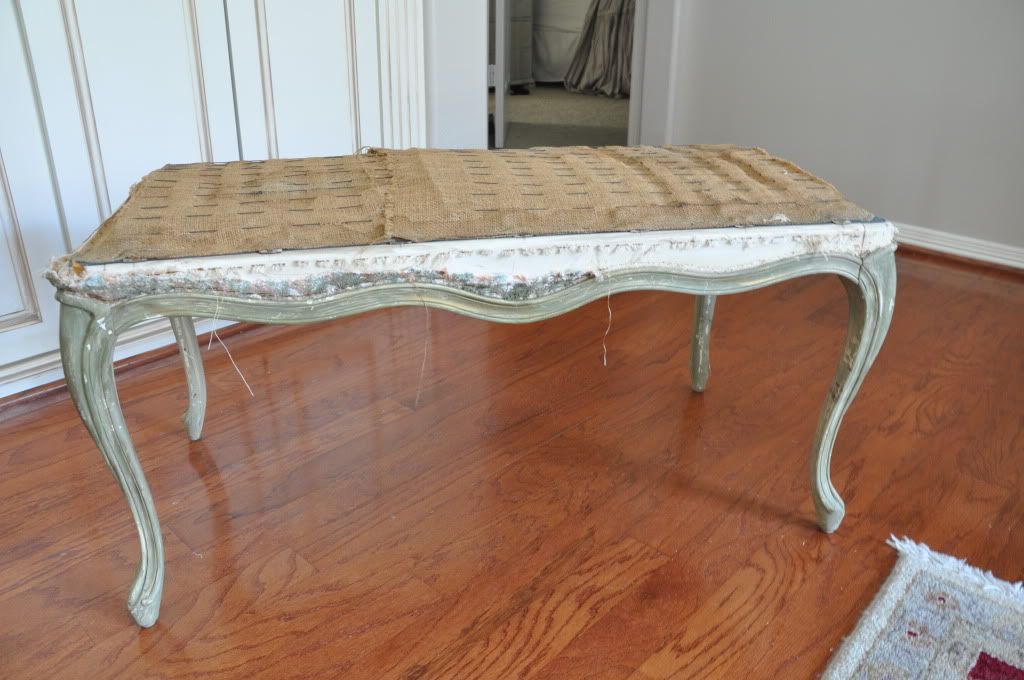
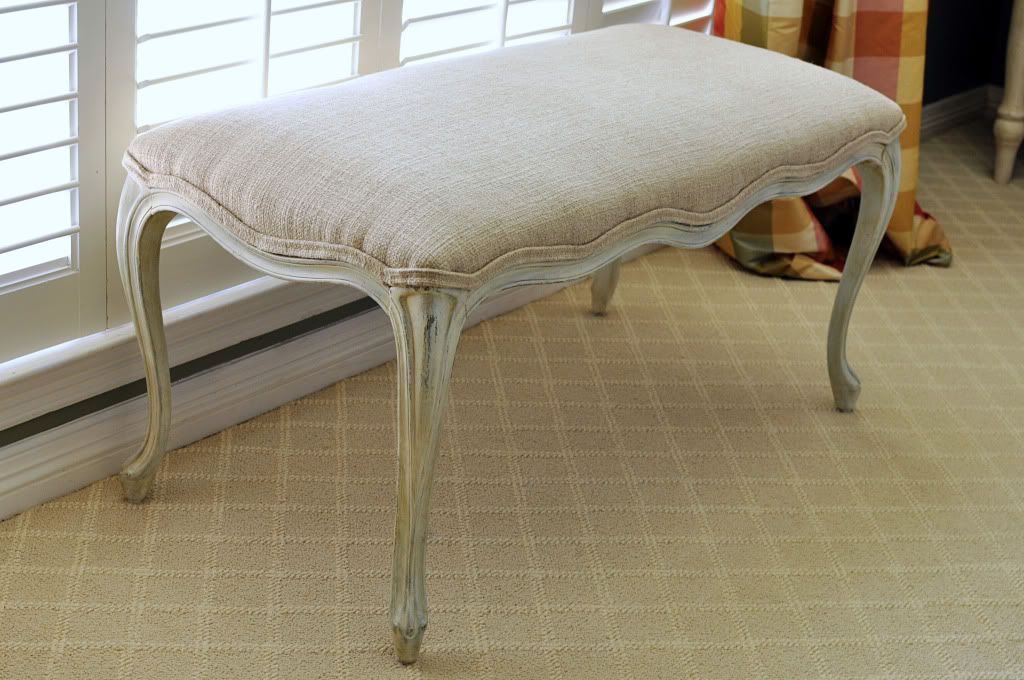
It looks worse than it really is. The springs and seat part were in good shape. I knew it just needed a paint job and some foam/batting/upholstery on top. That's something easily remedied with my handy dandy staple gun.
First I gave it a coat of Valspar's Sea Salt Blue...love this color. Then I dry brushed my Annie Sloan's Old White Chalk Paint over the blue. A coat of Clear Hannant's Wax. Then a little strategic sanding (which ended up letting the weird green peek through but I rolled with it). Then a bit of Fiddes & Sons Jacobean wax. Using the waxes is a learning process but I've found I like the finish and control these waxes give you.
On to the upholstery....
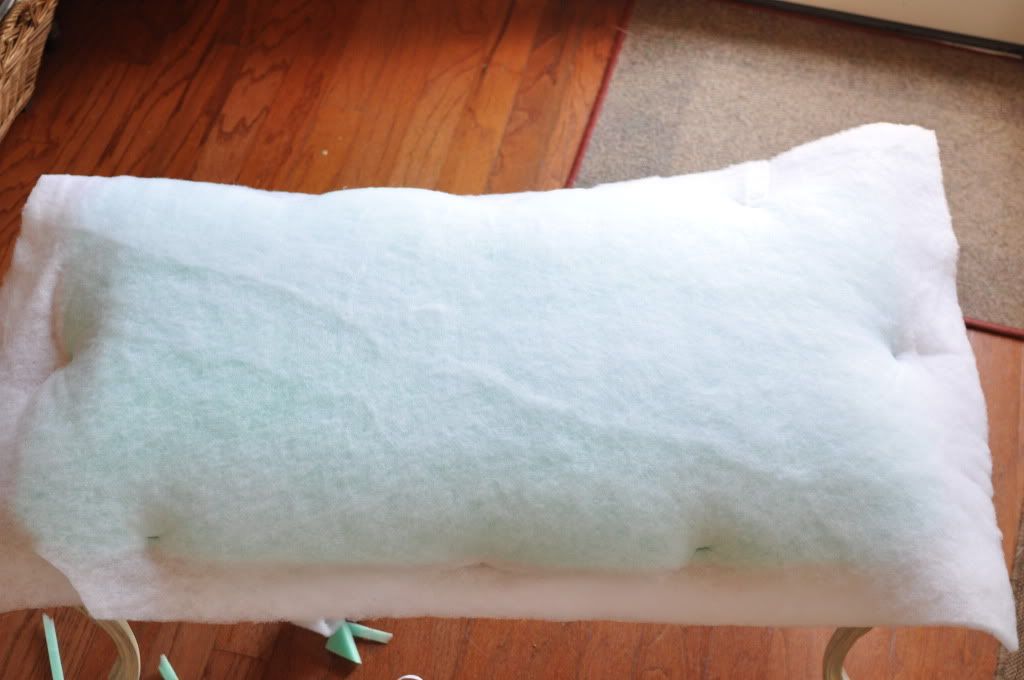
I cut 1/2" high density foam and 1 layer of quilt batting to size.
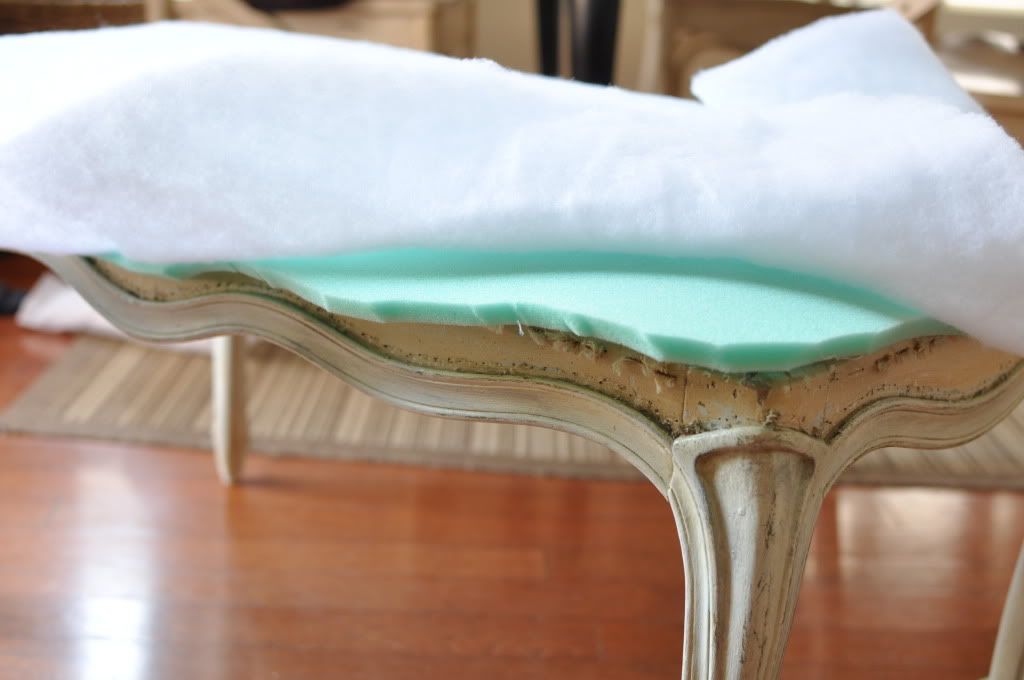
Then staple it all down. I don't think I even bothered to staple the foam. I just stapled the batting over the foam to keep it in place.
Then staple the fabric down. This is the part that makes me sweat....literally. I usually staple in the middle of each side, pulling tight as I go. All that fabric pulling is a strength work out. Then staple all in between.
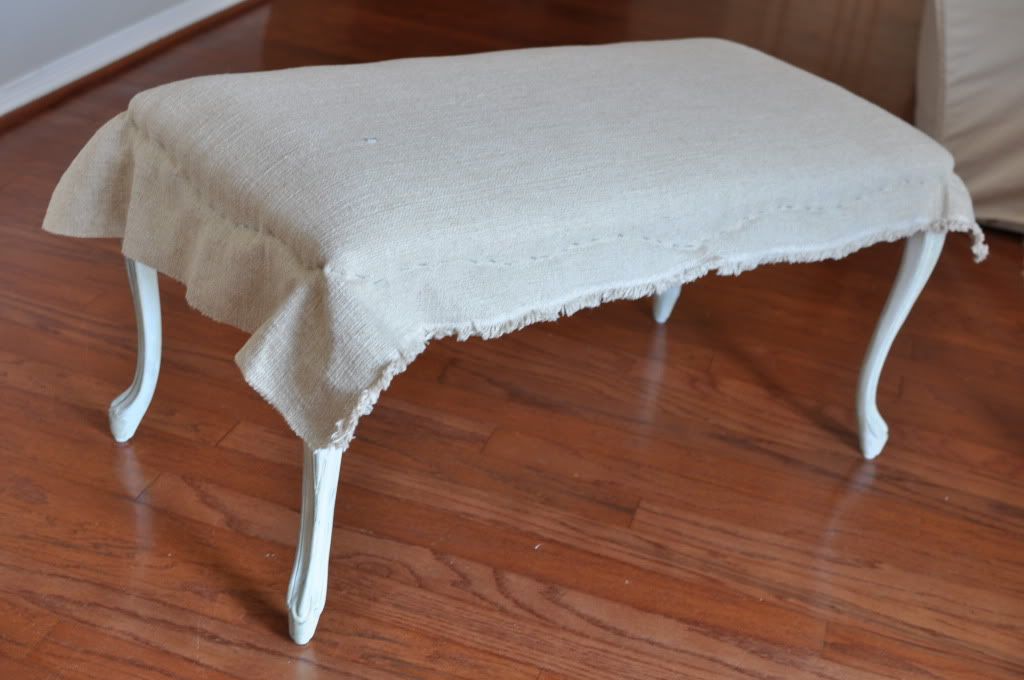
The corners can be tricky. I usually start with a staple in the corner, then start stapling to either side of that staple and work out toward the sides (does that even make sense?)
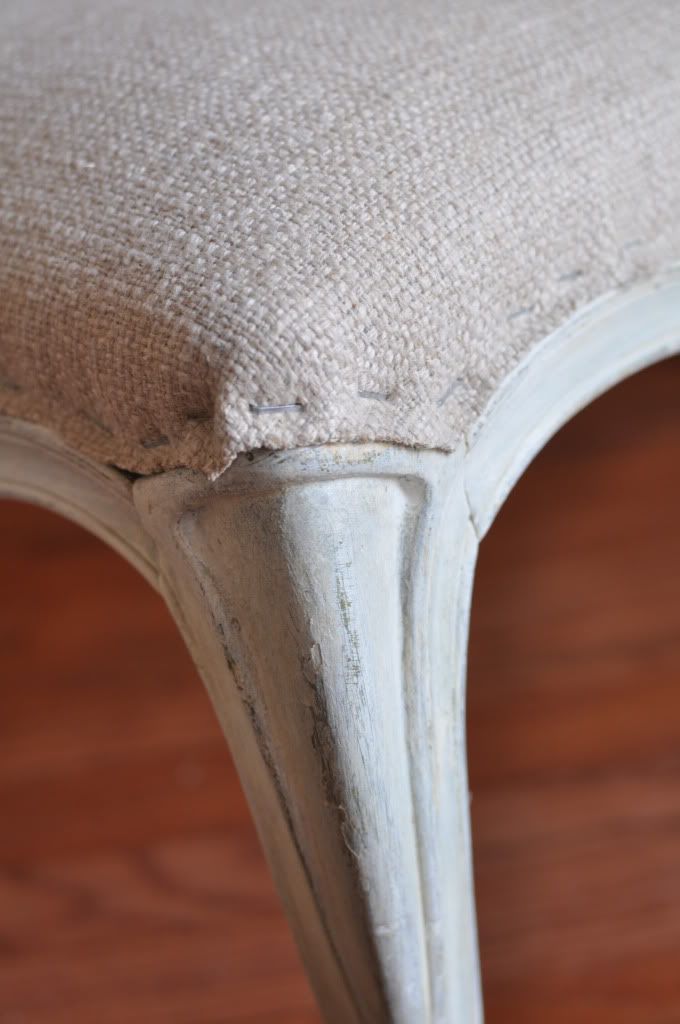
Stapling can drive one crazy but I was just thankful I didn't have to contort my body like I did for the french chairs. Now that was major work.
Next on to the finishing touch...the piping. Now, I was prepared to make my own piping like I did for my daughter's headboard. However, the fabric I bought was a bit thick. I don't know if you can tell from the pictures, but the weave and hand reminds me of an antique grainsack. It has a beautiful texture. I tried to make piping and it just wouldn't go through the machine. I couldn't even fit the fabric wrapped piping under the presser foot. What to do?? I cut strips of 1.25" fabric, folded it in thirds, and sewed down the middle.....
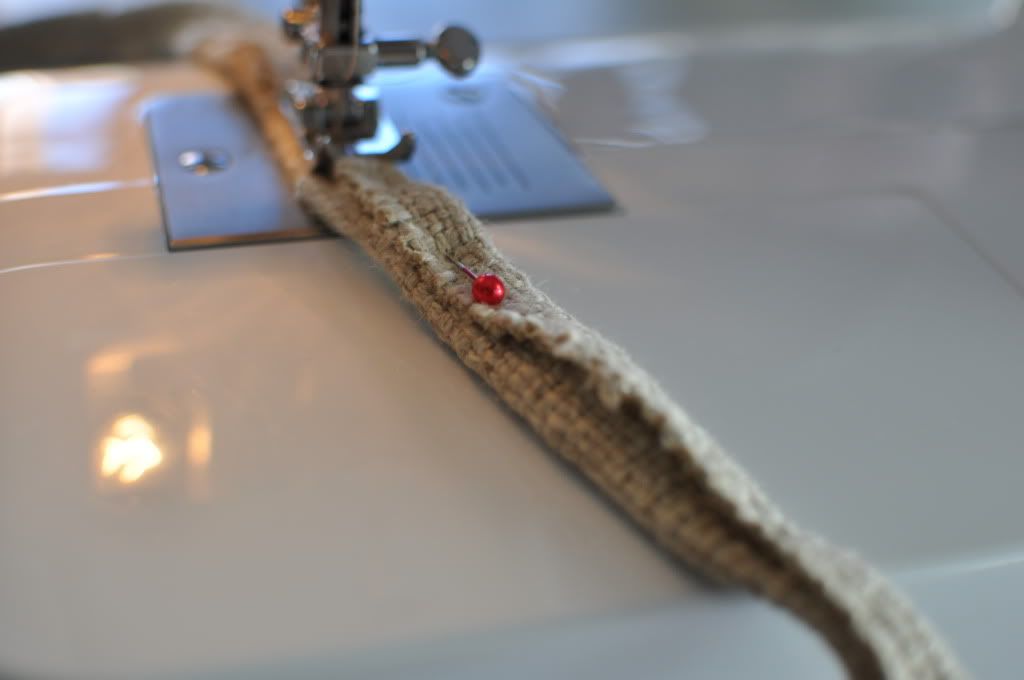
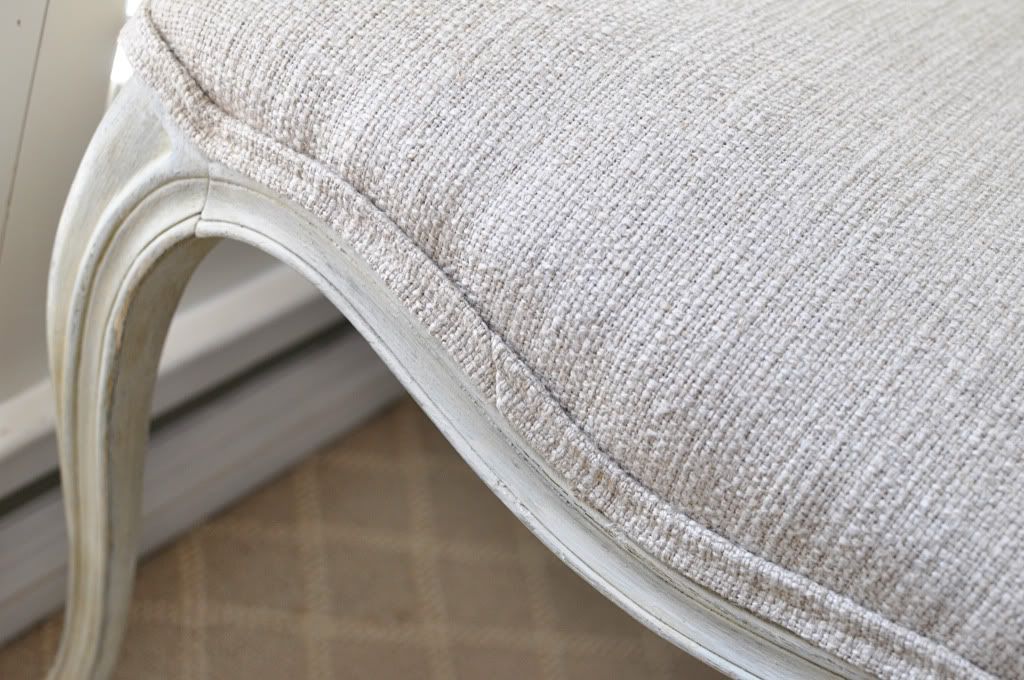
Then hot glued the trim strip to the edge. Not quite double welting but with the thick fabric it was the best I could think of using materials I had at home and without using that gimp stuff. Not that I'm against that...I used it on my french chairs but I didn't want to use it for this.
If I get brave I might do a stencil on the top....maybe a monogram or a simple graphic of some sort...I feel like it's begging me to do something to the fabric but I'm so nervous to touch it! What do you think? Will I ruin it?
Now....where to put my little bench??? It keeps moving to different places in the house. I just can't decide
Showing off at:




19 comments:
Wow it looks awesome! I was tempted to use a linen that color but ended up with the burlap. I'm loving how yours looks so pretty and light...and now I'm really thinking about changing it!!
It is fabulous!! Love the colors!!
You can put it in my house??!! Ha! It will fit perfectly!
Hugs
SueAnn
Love your trim detail! I never would have thought of that!
It's amazing~ I love the bench and love how you have reupholstered it! Just so frenchy gorgeous!! Well done! Thanks for sharing this at Feathered Nest Friday! :)
You sure did a great job on that rescue! Red velvet belongs on cake...not a bench like that! Beautiful!
I love it just how it is. It looks great! Wish I could find one just like it :). The trim was genius as well! Thanks for showing us a different option instead of using welting!
Wow! It is gorgeous!! You did a fabulous job. Such an elegant piece after all your hard work!
She is really beautiful now! You did a fabulous job on the bench.
xo,
Sherr
You do nice workmanship. Bench is lovely.
gorgeous! you def saved it's life!
It looks fantastic, I'm glad you saved it from red and velvet.
It turned out gorgeous!
that is stunning! oh i love that! i would love to have it in my bedroom!
I think it looks great! I always add graphics before I reupholster. You did such an awesome job, I think you should leave it the way it is.
What a great rescue! I just found you throughout the linky parties and I'm happily following!
Lori - you have done an incredible job on the bench. I just adore the fabric you have used and the trim looks fantastic. Thanks so much for linking to The Sunday Showcase Party - I greatly appreciate it. I have featured this Sunday. Have a wonderful week.
~ Stephanie Lynn
I absolutely LOOOVE the way this turned out!! love love love it!! Do you remember what type of fabric you used? I have a very similar project Im about to start and wanted to use piping, butI can't sew and didn't want to beg friends to do it for me- your solution was perfection and I'm so impressed!!! I am so "borrowing" this idea, if that's ok. You know... imitation is the sincerest form of flattery. ~ Pia from crookcreations.blogspot.com
Super darling!!! Love that little bench!! You did an awesome job on it! :)
Shellagh
www.tickingandtoile.com
Post a Comment