I thought I'd do a quick tutorial even though this may be so obvious. I apologize if you start to drift off!!
I made this one for our friend's little boy....wow...sorry for the blurry picture!
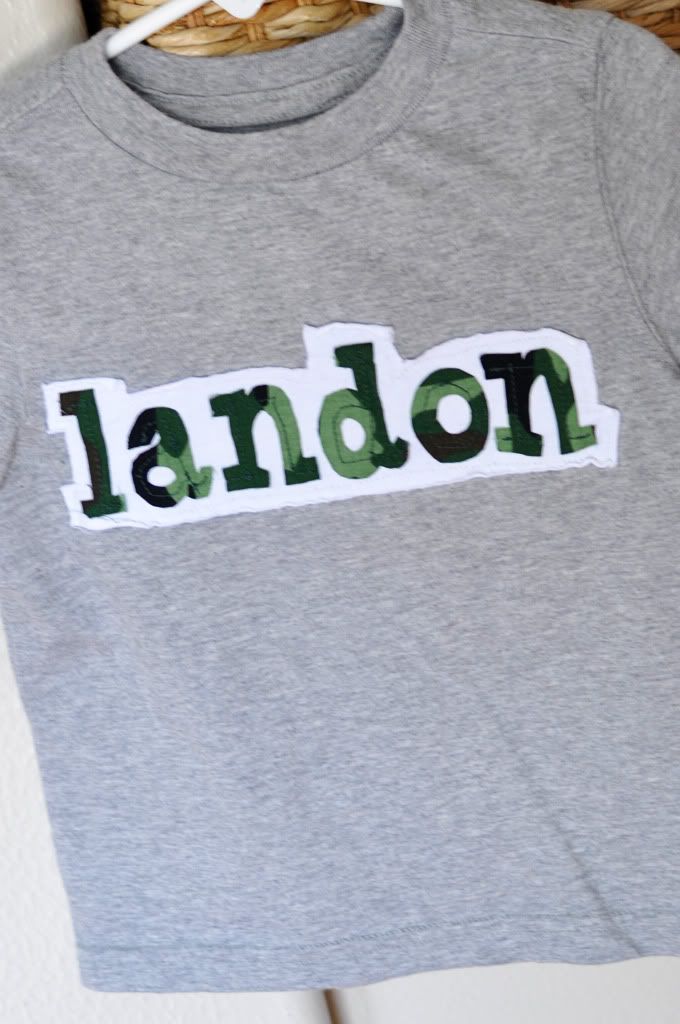
1. Print the letters out in Microsoft Word in a font you like, making sure it is the correct size to fit the t-shirt. I cut out each letter from the paper, pinned the paper letter on the camo fabric, and re-cut each letter from the fabric. I usually cut the fabric slightly larger than my paper letter by about 1/4". I do this only because it is easier (for me) to not cut exactly on the line of the paper letter and make so many intricate corner cuts.
2. Cut a large rectangle of white jersey t-shirt material as a "background" for the camo letters.
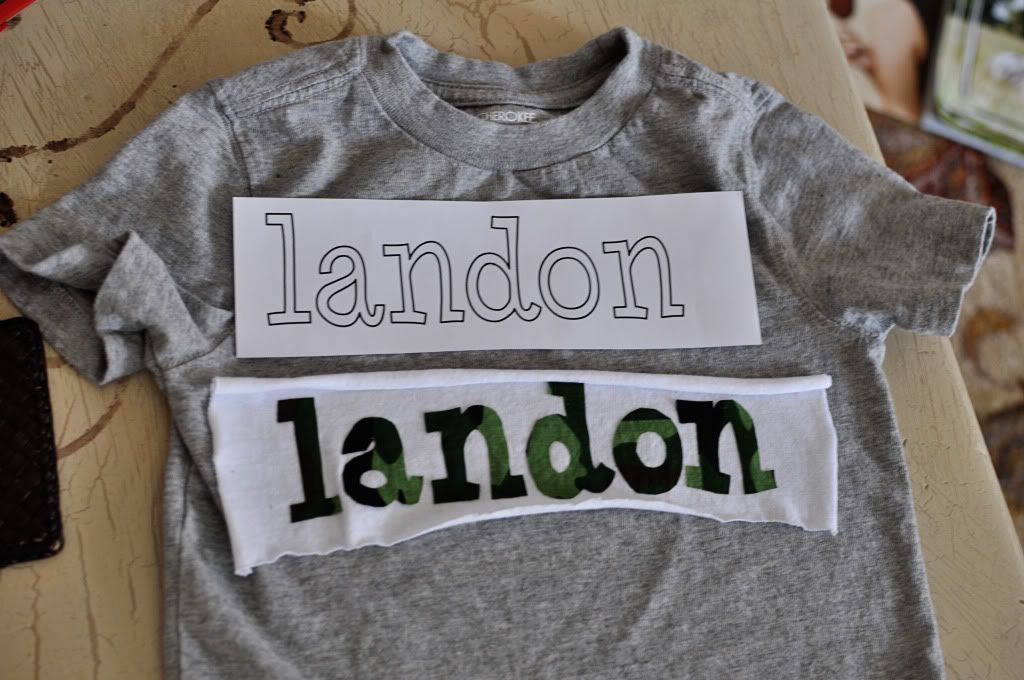
3. I used fusible tape or stitch witchery to adhere the camo letters to the white jersey fabric to make it easier to sew them on later. Just place a damp washcloth over the camo letters (stitch witchery between camo and white jersey) and apply a hot iron to get it to stick.
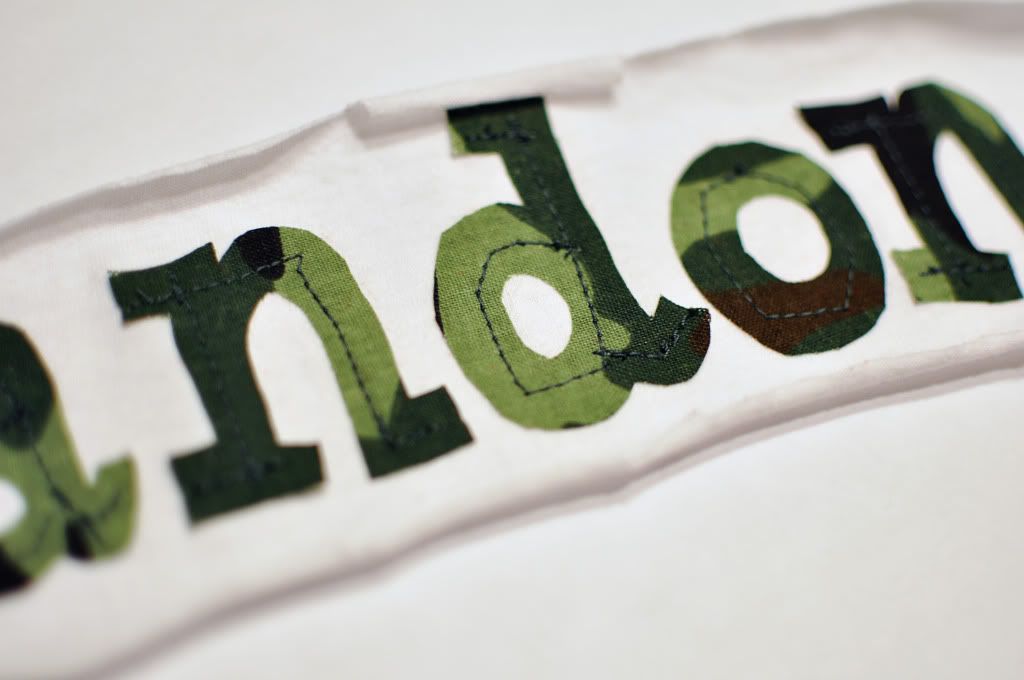
4. Now, the patience builder. I carefully and slowly stitched the letters for extra reinforcement. This takes a little practice and patience but you just stop every few stitches and turn your fabric so you can sew a line down the middle of each letter. See, if you look close, it's not perfect but it does the job. Camo letters aren't moving now.
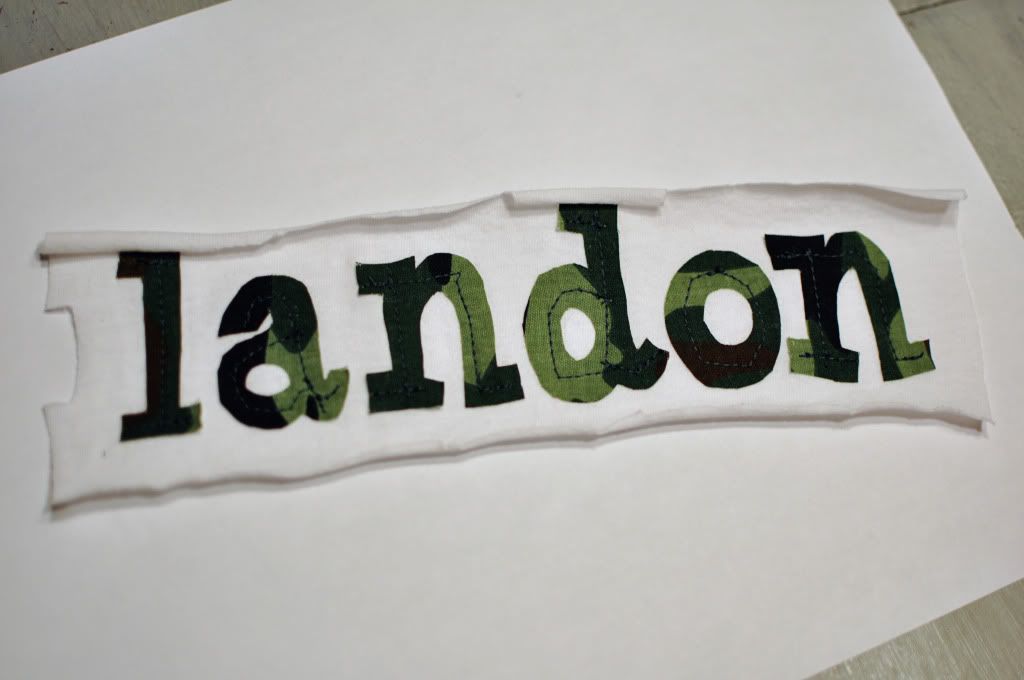
5. Attach the camo letters/white jersey piece to your t-shirt with the stitch witchery method again. (The great thing about doing it layered like this is if you get this far only to mess up, you haven't ruined the t-shirt, you just start over with the name again!---or you give up---but don't do that---remember I said it takes a little patience---you can do this!)
6. Ok, almost done. Now you do a reinforcing stitch to attach the white jersey background onto the t-shirt. Sew as close as you can around the name on the white jersey.
7. Trim off the excess around the outline stitch very carefully (preferably with small scissors) so you don't clip the main t-shirt, as I have done before....unfortunately
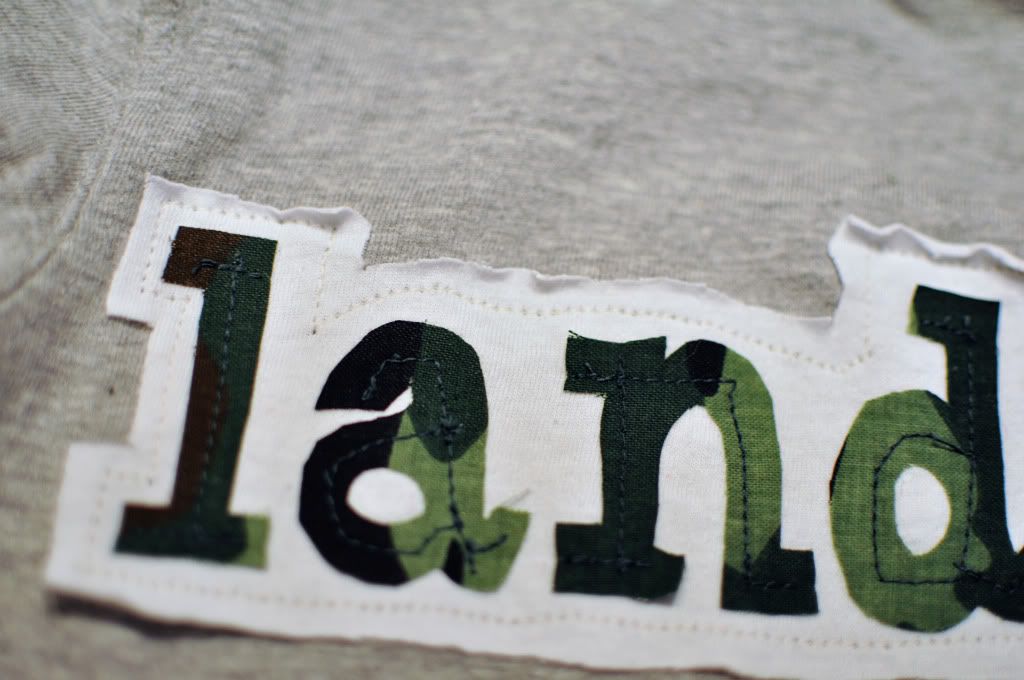
And here you go!
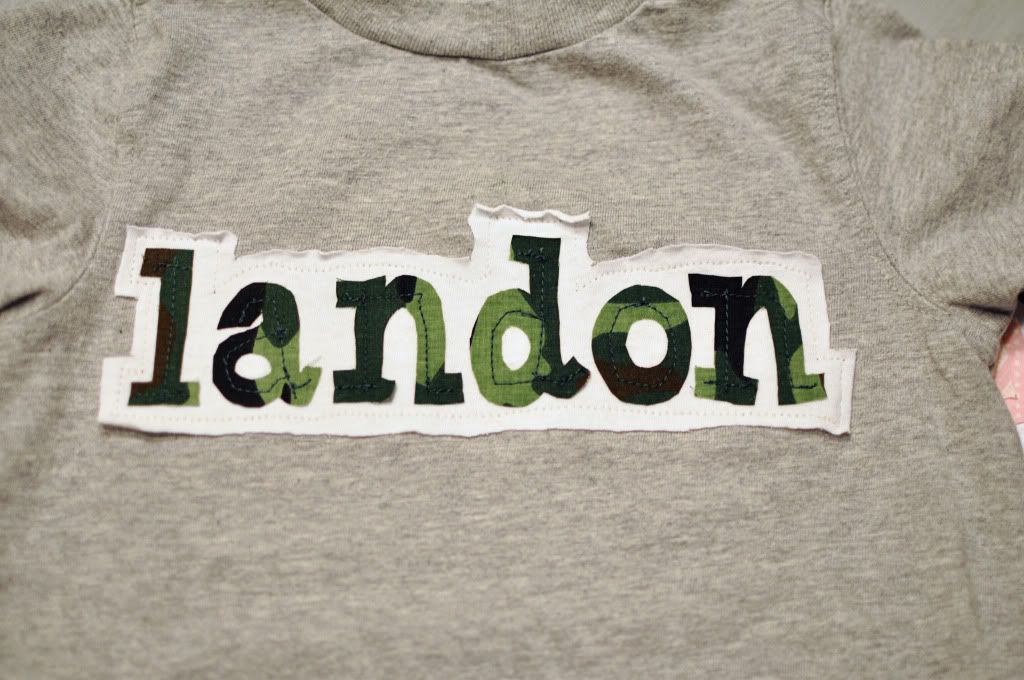
When you wash it, the edges of the letters will probably fray a bit but I think it adds charm and ruggedness to the look. It is a little boy's camo shirt, after all. We're going for a rugged look here. Here is another one...
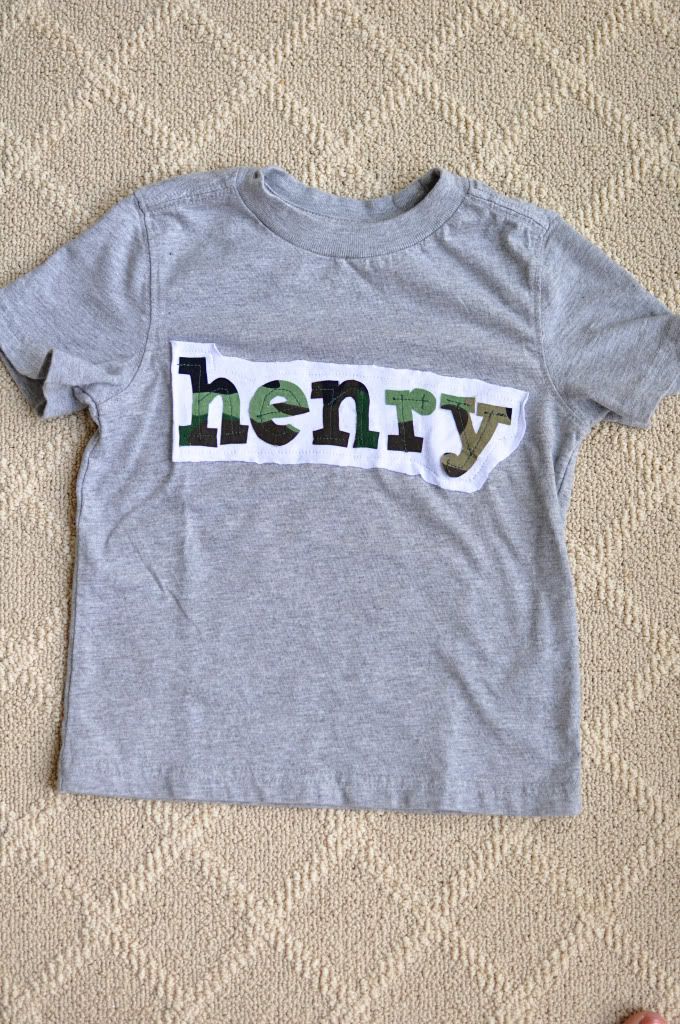
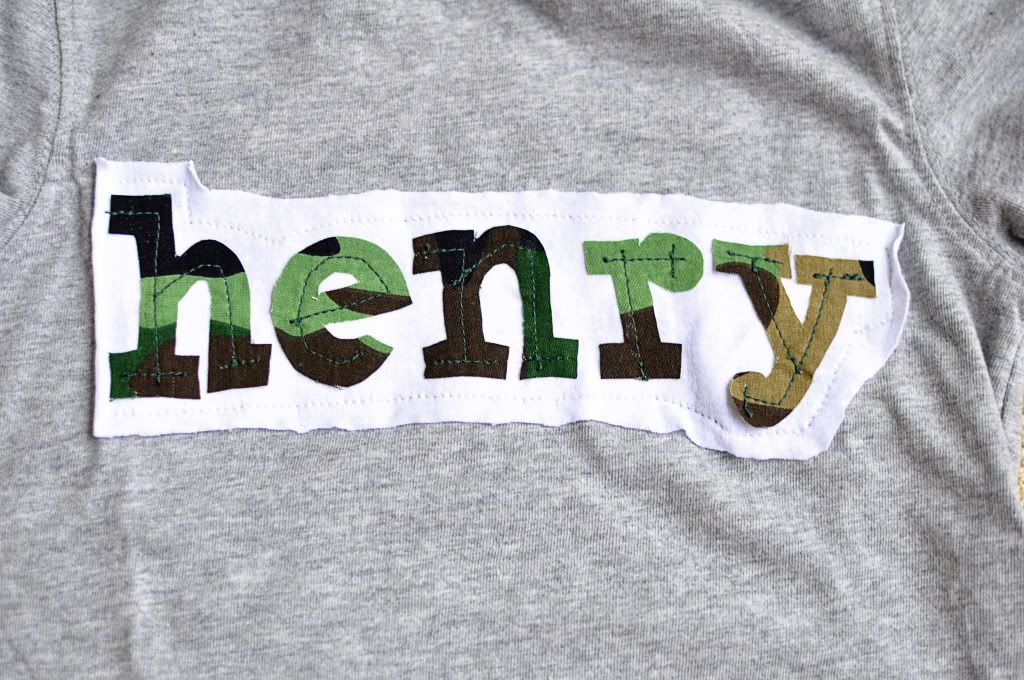
The possibilities are endless with this basic concept.
I made this one for Landon's sister....
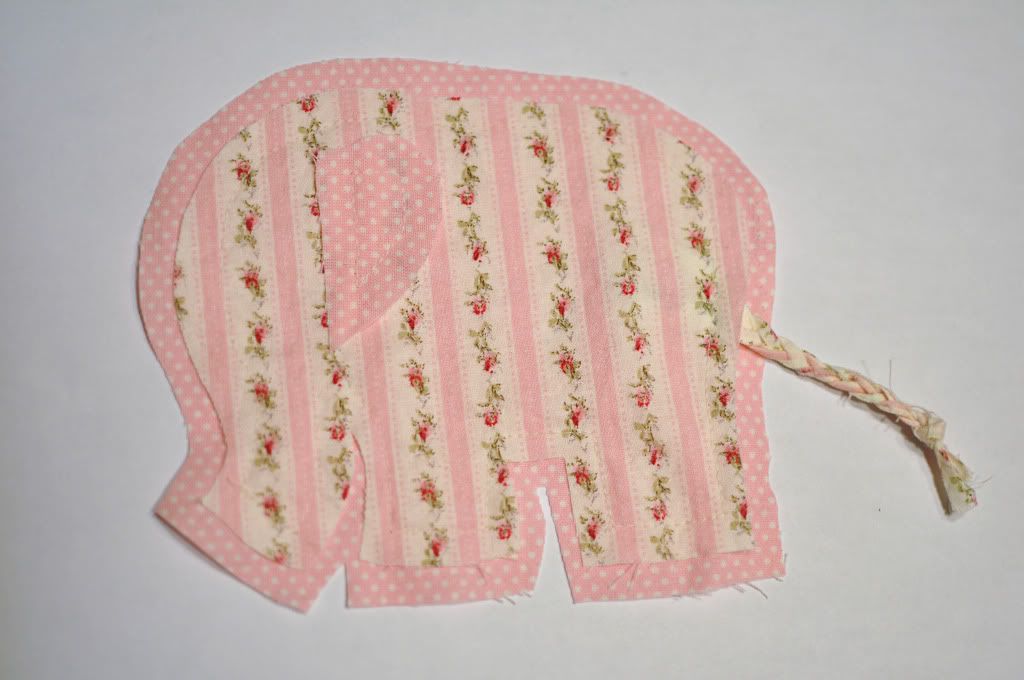
It's the same concept but I wanted the edges of this elephant to really fray so I cut the elephant about 1/2" larger than the template, then snipped flaps every 1/4" without cutting through your outline stitch. This snipping method is good when you're using cotton or poplin material. It helps the edge to fray
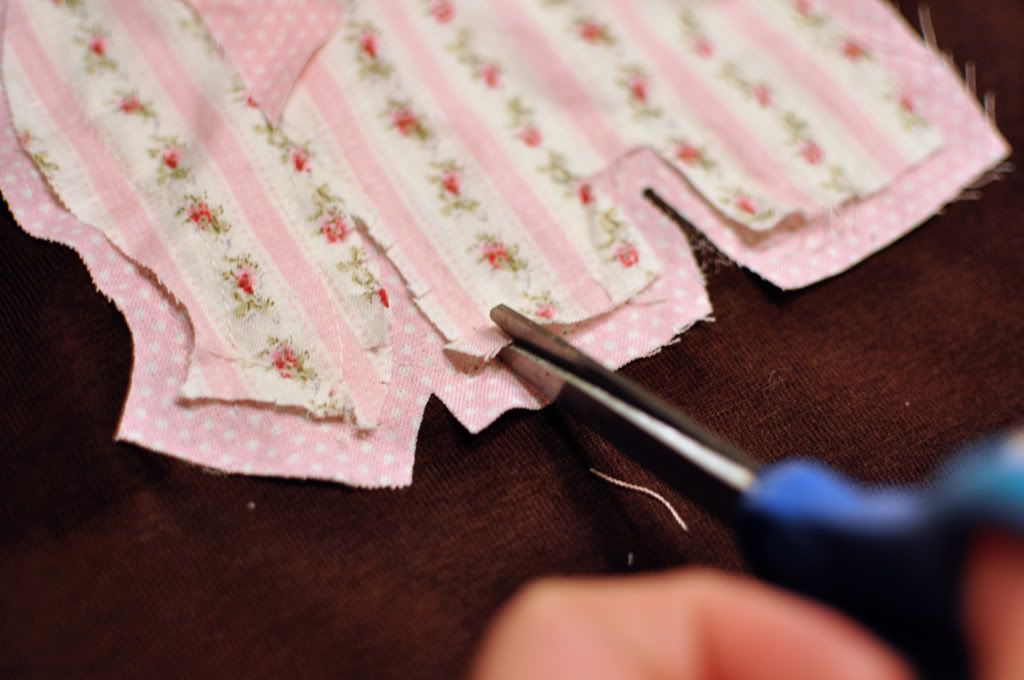
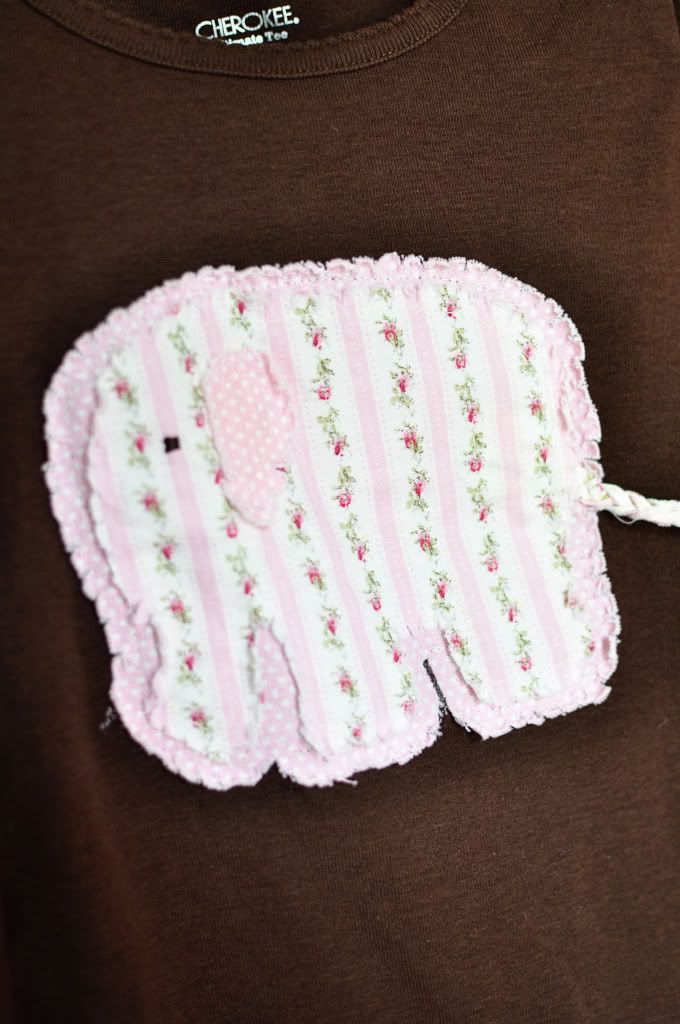
Then when you wash it several times it will fray up (kind of like a rag quilt, if you've ever made one of those it's similar)
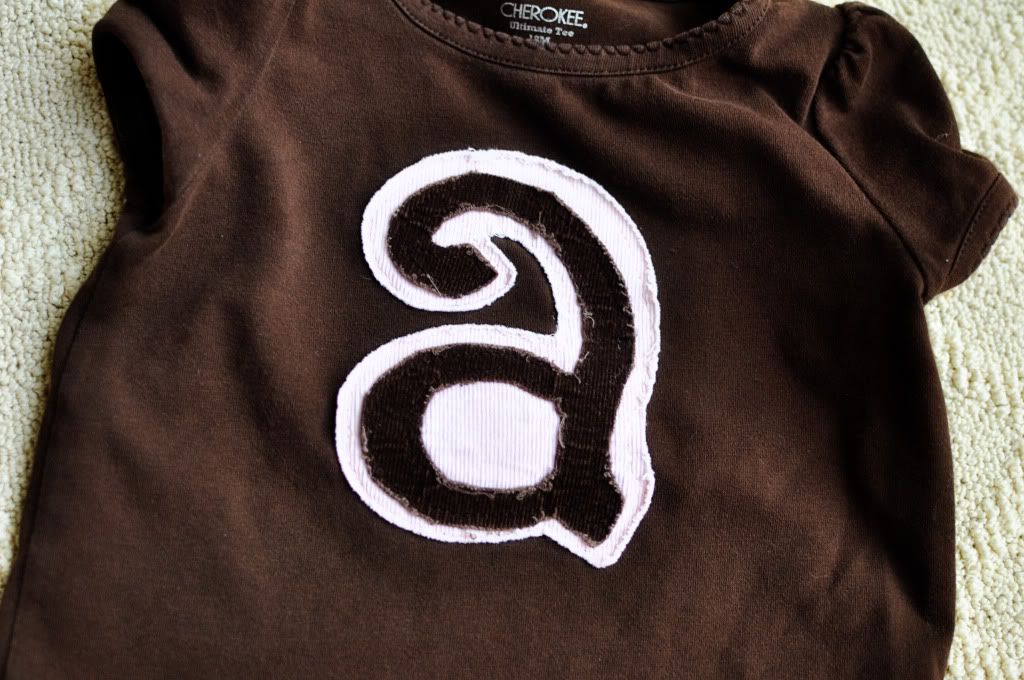
I used the same concept to make this shirt for my daughter. This one has been washed several times so it is really nice and frayed.
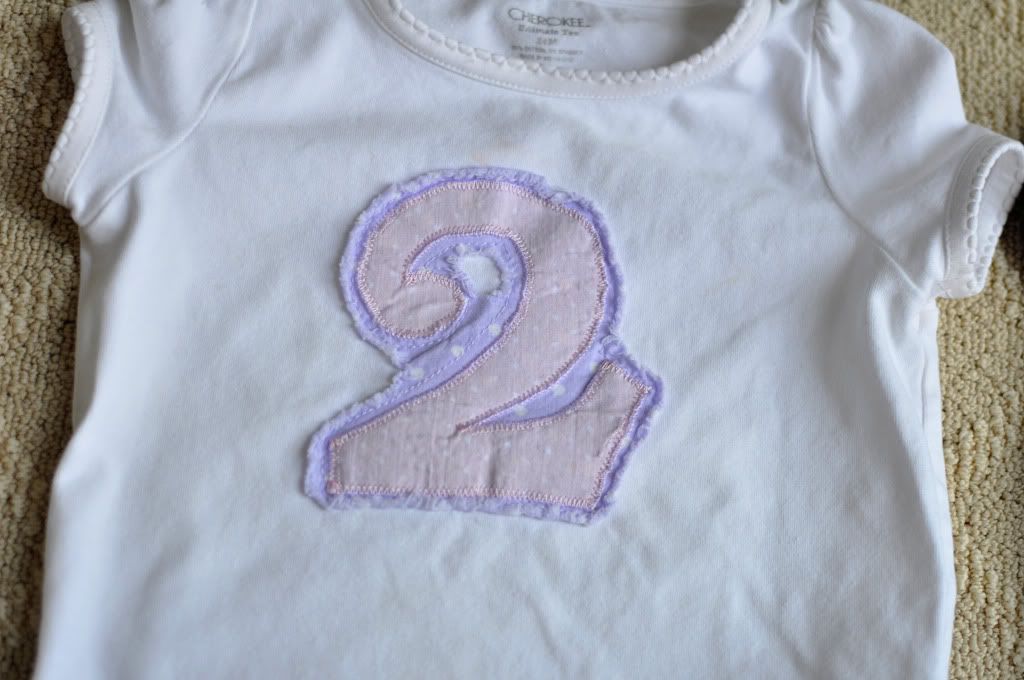
I used corduroy for this one and it frays nicely without snipping around the edges. Just a straight stitch to sew the little A to the large A first. Then another straight stitch to sew the large A to the shirt.
Partying at

PS - These lovely ladies featured my frenchy benchy at their linky party recaps! Thanks so much


2 comments:
Thank you for the tutorial! I am presently attaching an image to a sweatshirt. I found a fusible glue for fabric that I am using. It works great! And sewing is now an option; not a requirement! Ha!
Hugs
SueAnn
great Camo T-shirt and camo embroidery on it
Post a Comment