Thursday, April 28, 2011

Kitchen Table Chalk Paint Project

Like many projects around here, I started this one with such a burst of energy that I forgot to take a proper "before" photo so the transformation may not make as big an impact on you as it has me.

I purchased this darling table at an antiques fair a few years ago. I really like it but it was starting to show some wear, especially as a kitchen table where we eat most of our meals. It was already "distressed" but it wasn't sealed at all and every time it got scratched or the kids put a sticker on it, the original gray paint peeled off revealing the honey colored wood underneath. The legs were painted a flat black and were also unsealed. You can imagine they had food particles and scratches all over. Flat paint is not very easy to clean.
After 2 kids and 3 years my little table needed a facelift but I wanted it to stay true to it's original look.

I used a brush to paint the top with the much blogged about Annie Sloan's Chalk Paint in Paris Gray. This was my first attempt at painting a large furniture with chalk paint. Paris Gray is a really lovely color. Here it is drying
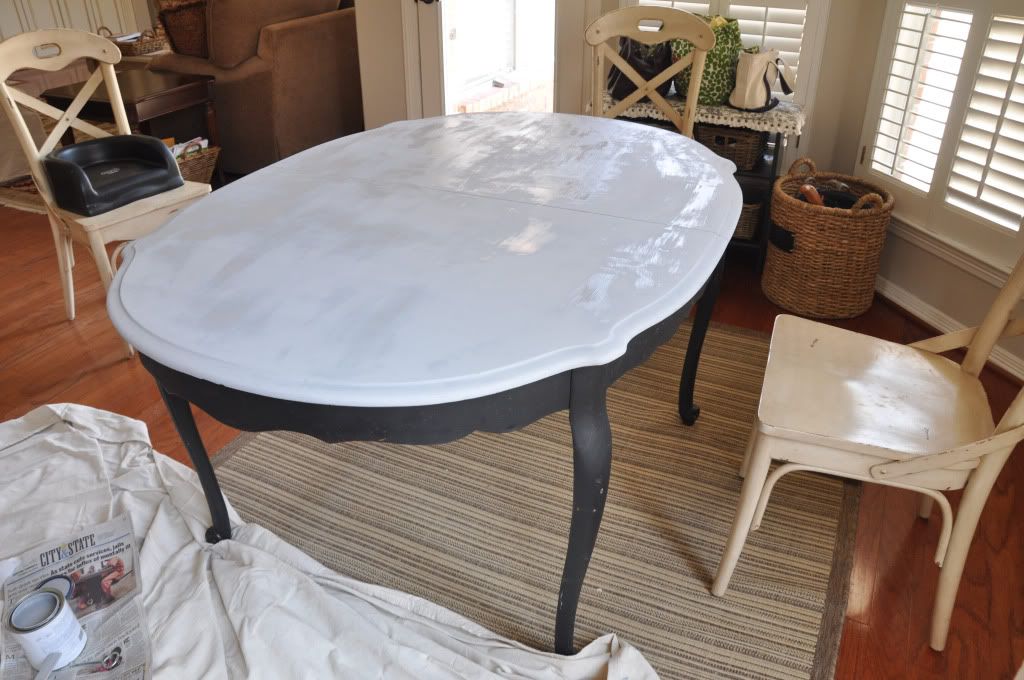
Photobucket

It dries very fast. I thought that was all I would do until my husband came home to help me carry it outside but noooo....I got impatient and brutely carried this thing outside BY MYSELF to do the next steps. I guess I got carried away because I have no pictures of the in-between.

I used Hannant's Clear Wax, which is sold with the Chalk Paint products, after the Paris Gray dried

After the clear wax, I sanded the places I wanted the wood to show through. Seems weird to sand after you wax but that what they say to do to get better results.

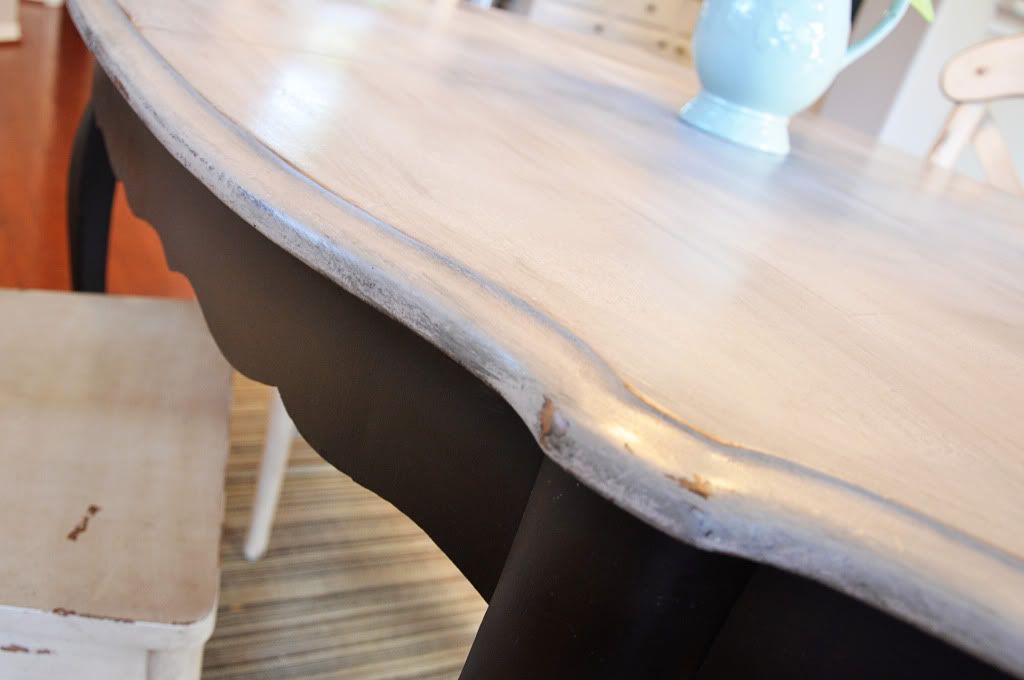
Then I brushed on the Fiddes and Sons Wax in Jacobean, wiping away where it was too dark for me. The nice thing about this wax is that you can add the clear wax back (even after the darker wax has dried!) if you want to lighten it up. The clear wax acts like an eraser so you really have great control over what your finished result looks like.

Then, I proceeded with what should have been the first step and spray painted the legs with a satin black spray paint to freshen up those legs. I plan to add a clear wax to the legs to make them a little more "washable" this time around.

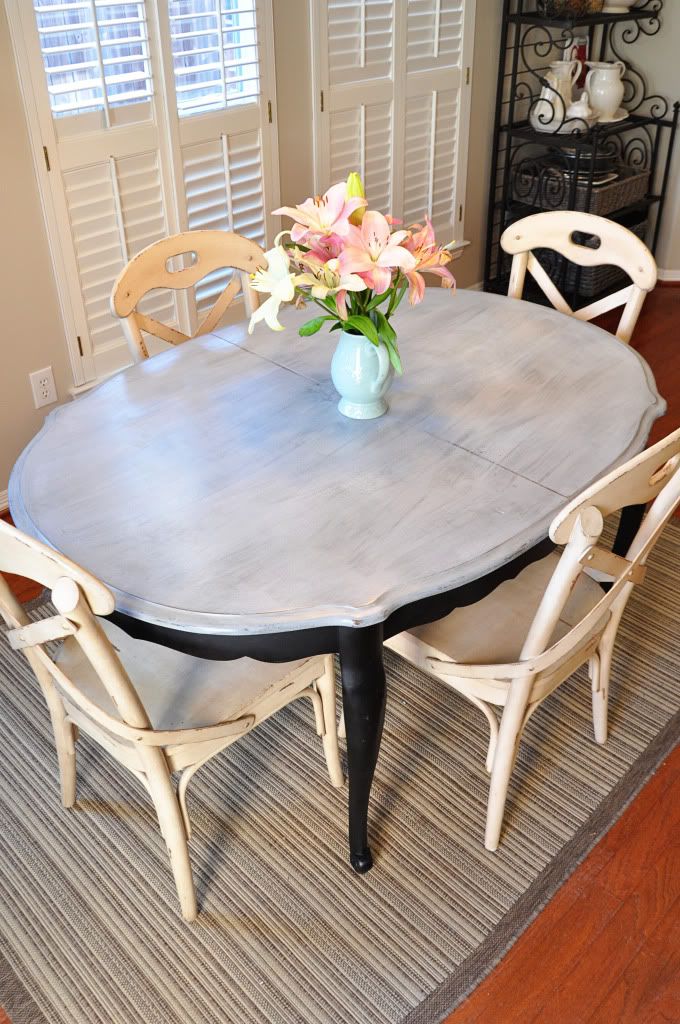
Here is the final product, hopefully you can see some of the detail
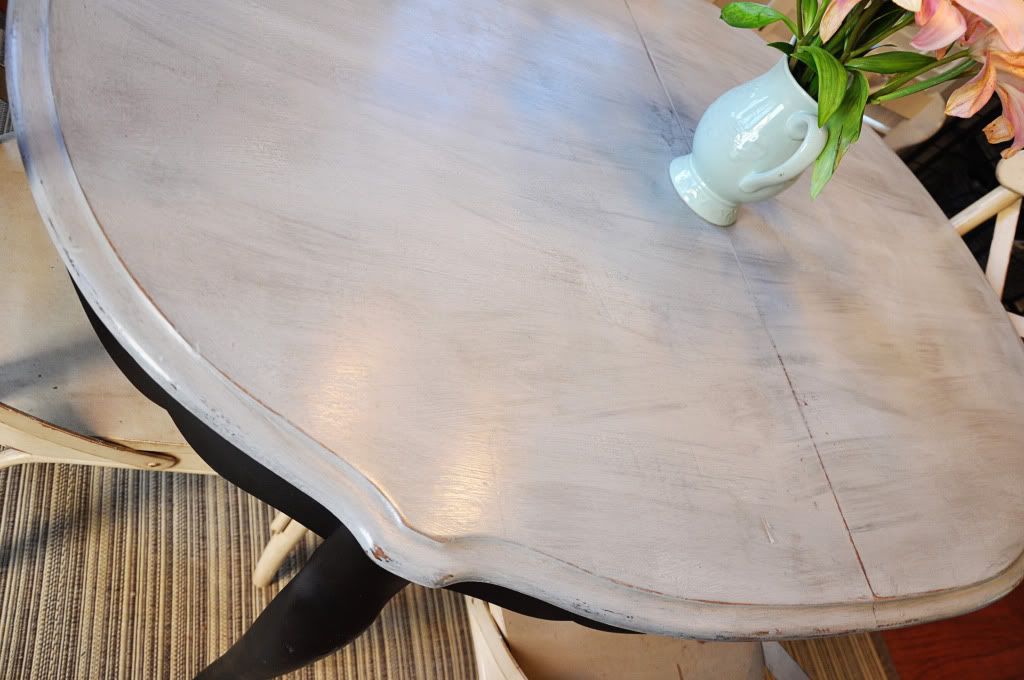
Photobucket

Photobucket

Here she is! Brand new!

Photobucket

Partying At....
Furniture Feature Fridays

Transformation Thursday
Frugal Friday at


Sunday, April 24, 2011

Free Easy Artwork

After we had the living room painted, I felt like I had moved into a whole new house. As I put everything back, I took the liberty of moving pictures around and tweaking things here and there. It's amazing what a little paint will motivate one to do...

One thing I got jazzed about is filling a few simple black frames I had stored away with artwork from The Graphics Fairy. I just love her website and enjoy browsing all the cool graphics. I printed the images directly onto some osnaberg fabric using this method.

It is the coolest thing. I was addicted as soon as one worked out for me. I framed up these cute little teapots for one corner of the kitchen....

Photobucket

and this fun french chocolate label for the space above my baker's rack.

Photobucket

Photobucket

It's hard to tell in the pictures but the texture of the fabric really adds interest to the picture.

Here are a few other teacups I found on her site but didn't use. How fun would these look individually framed in a grouping?
I plan to make some fun pillows with this method also. The possibilities are endless, really.

Some tips I learned when printing:

- Trim all the edges around the paper so there are no stringys and
- The fabric should be very flat against your paper. I used cardstock since it is a little stiffer than regular paper. When the fabric wasn't flat I got some ink drag on my fabric.

The best part? Total cost = FREE!

Thursday, April 21, 2011

Oatbran: Yummy for More Than Just Your Tummy

If there is one way to make a person crazy it's to tell them to pick a paint color and like it.

We've been living with Valspar's Lyndhurst Timber since we moved in.

Valspar 2007-9C Lyndhurst Timber at MyPerfectColor

It's not bad, it was just feeling too heavy these days. And after 4 years, a change was in order. Here are the before pictures I hastily took right before the painters showed up.

Photobucket
Photobucket
Photobucket
Photobucket

I've dreaded painting the Lyndhurst Timber because there is no stopping point between the entry/kitchen/breakfast/living room. It is a big undertaking to remove all the wall hangings, move the furniture, and plan to remove ourselves and 2 small children from the house for one night to escape paint fumes but I finally just decided to do it!

That was the easy part.

After about 12 samples from Sherwin Williams I almost gave up.

I was thisclose to using Benjamin Moore Bleeker Beige. It was one of my first 3 samples but I wasn't totally sold.....

Benjamin Moore HC-80 Bleeker Beige at MyPerfectColor

(these pictures are really not that representative but whatever)

....so I went to Sherwie Willie for the 5th time with a sample in hand for Valspar's Oatbran. After 2 weeks, 12 samples, and patches of paint all over my walls,  I needed to make a decision because they were having a 40% off paint sale. And that was going to be a big savings on 5 gallons of paint!

Valspar 6006-1B Oatbran at MyPerfectColor

I wanted a grayish color that would be warm enough to coexist with all the golds, wood, and warm colors I have going on in our space. Oatbran is PERFECT! It honestly cost me about $70 in paint samples but it really is so worth it to have a color on our walls that I love, love, love.

I seriously did a Balki Bartokomous dance of joy when I saw the finished result

Photobucket

Photobucket

Photobucket

It's gray!...but it's beige!...but it's gray!
....and it changes beautifully throughout the day and evening. You can see we have lots of windows in the living room so it took a while to find a color that looked good all day and night long.

Photobucket

By the way, my house doesn't normally look so neat but the kids are with the grandparents for a few days and we are hosting something at the house so I've got all my fancy stuff out.
And while we're tooting our own horn, let's talk about that hideous black marble tile around the firplace. Ugh! And the gold trim....double ugh!!

Photobucket

It doesn't go with anything in our house (except for the big black TV) Do you know replacing that tile was so easy? Sometimes you just gotta DO IT. Get off your booty and do something about what you don't like. It may be easier than you think.

Photobucket

BTW: The tile is Emperador Light. It looks a little hazy because the tile man said to wait 24 hours before wiping off the excess grout. I shall do what I'm told but I had to post pictures because I couldn't wait!

Friday, April 15, 2011

The Big Girl Room

Photobucket

Well, I'm just going to post this even though I don't feel like I'm really done with her room yet. I am a straggler with details. Yeah, I notice there aren't knobs on the bedside table. "Eventually" is my new theme.
If I wait for everything to be perfect it'll never get posted....so here it is THUS FAR

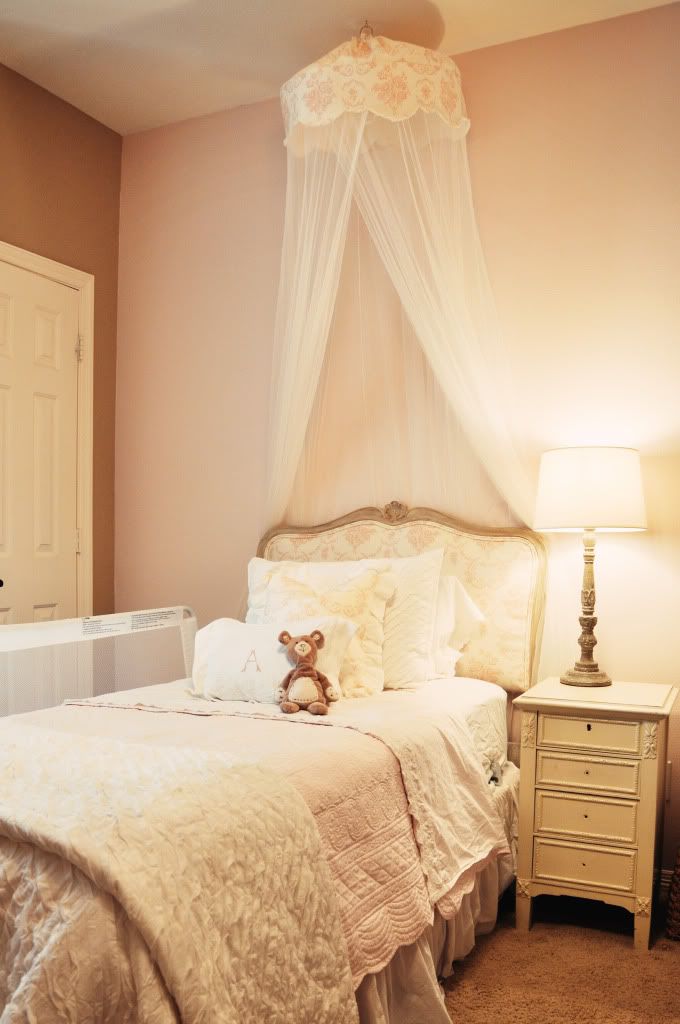
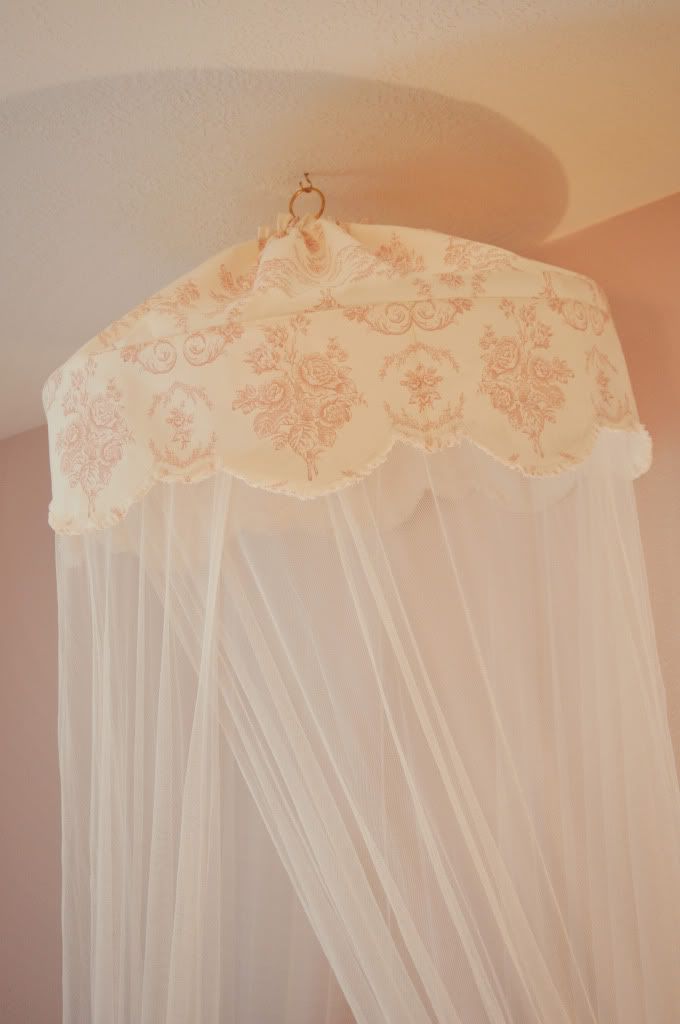
I bought the mosquito netting canopy at Ikea and added the fabric topper to match her headboard. The story of the headboard here.

Photobucket

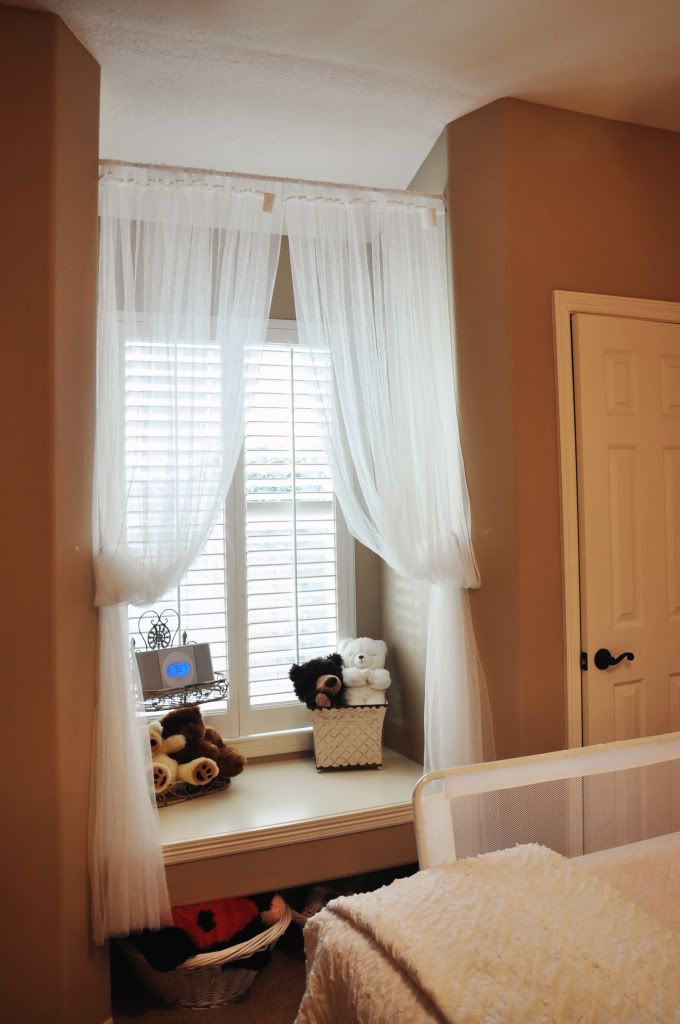
I plan to make a valance for this window seat to hang in front of the sheer drapes
Photobucket

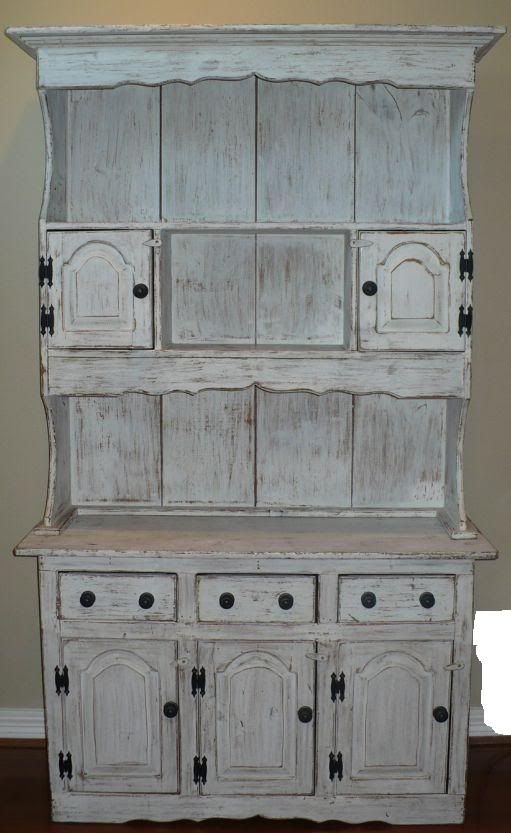
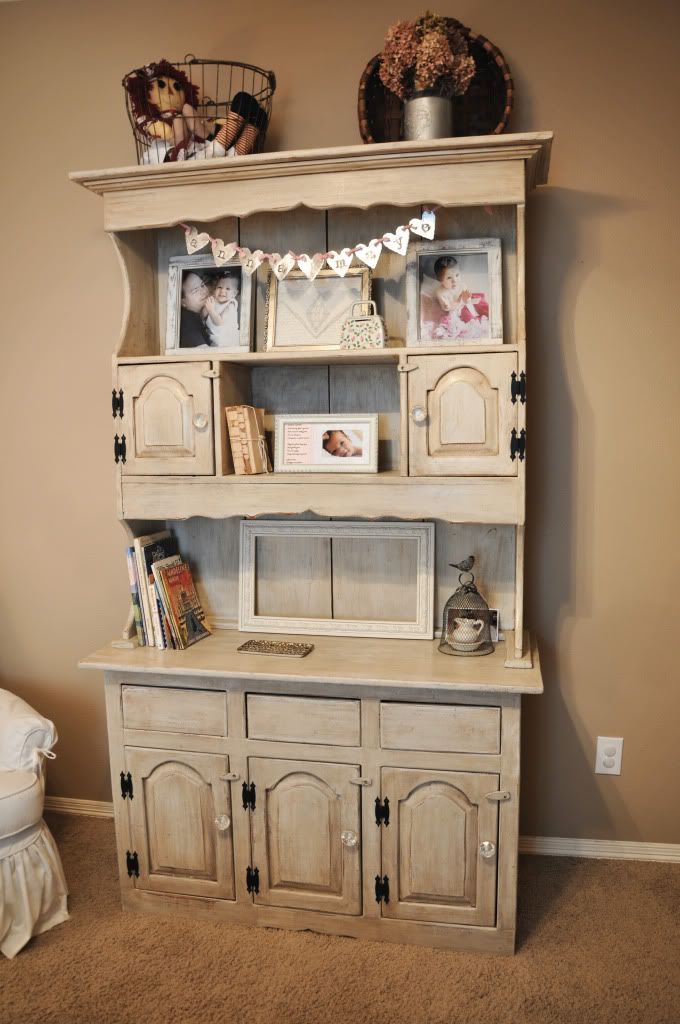
Here is the hutch that I bought off Craigslist.
Photobucket

The way it was originally was the perfect primer coat. I didn't sand or anything. I just added a coat of dry-brushed paint over the existing because it was really white and really distressed. The extra coat really toned it down a bit. Then I added a chocolate glaze over the details for some depth.

Photobucket

I need to find suitable bin pulls for the 3 drawers....I'll find the right ones eventually....


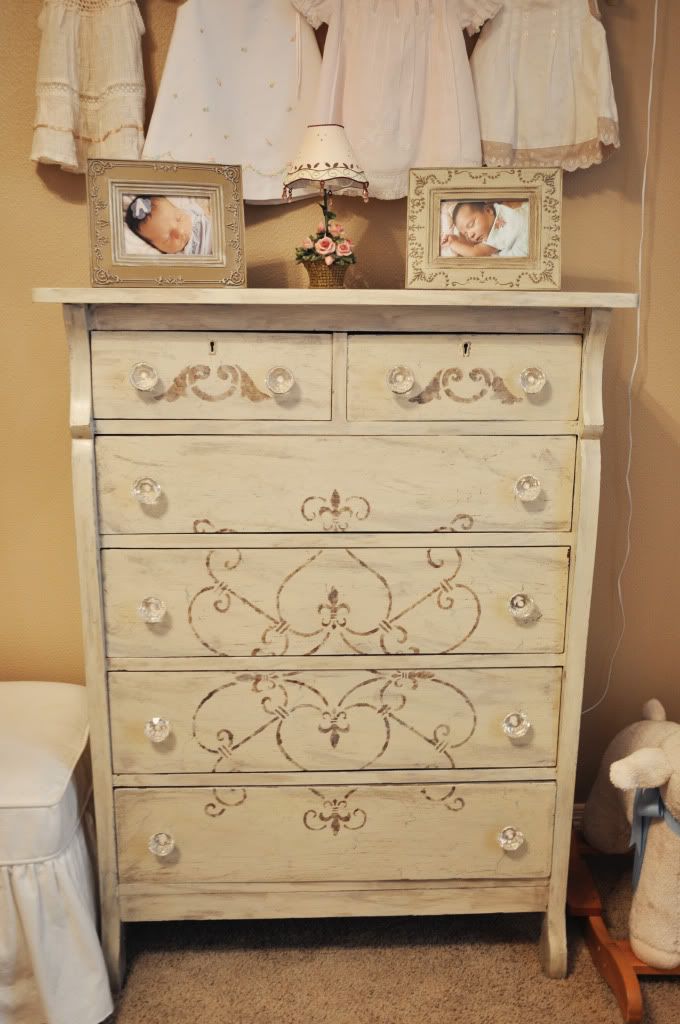
The hutch matched this dresser I painted a few years ago since I had plenty of paint left over from this project.

Photobucket

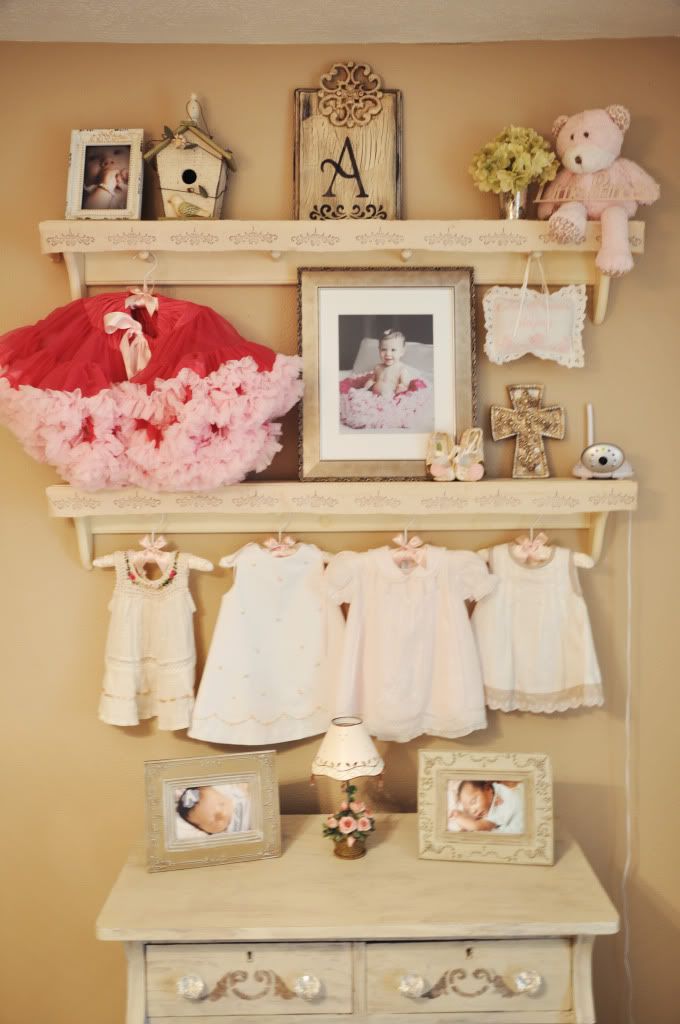
Here is the scene above the dresser. Nice video monitor camera, huh?
Photobucket

This room is so relaxing, I'm a little jealous ;) Maybe I should take naps in here??
Photobucket

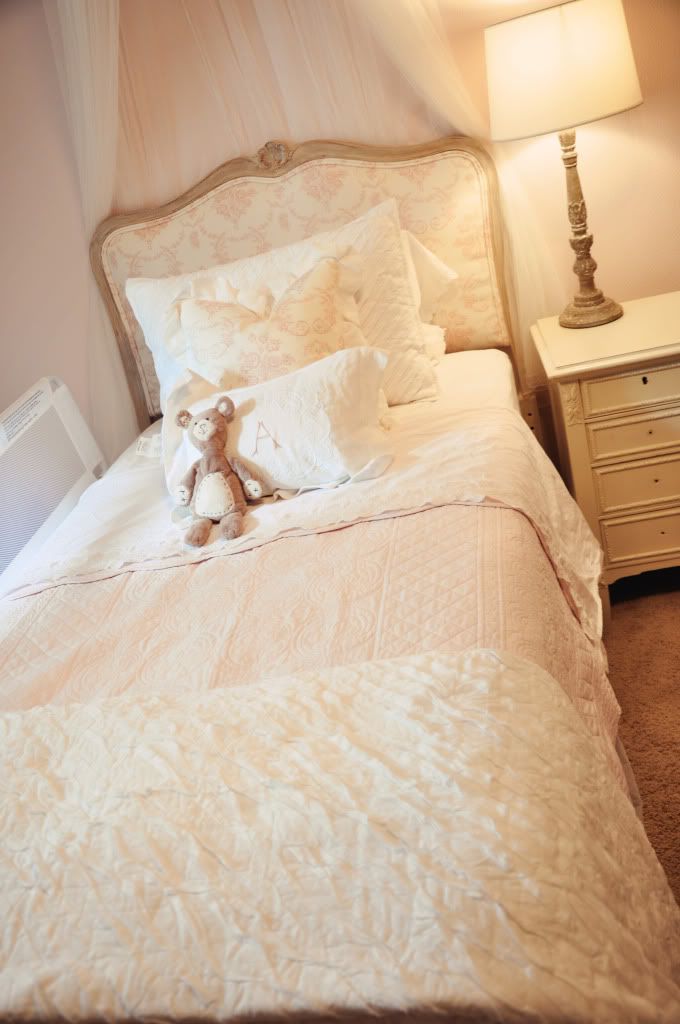
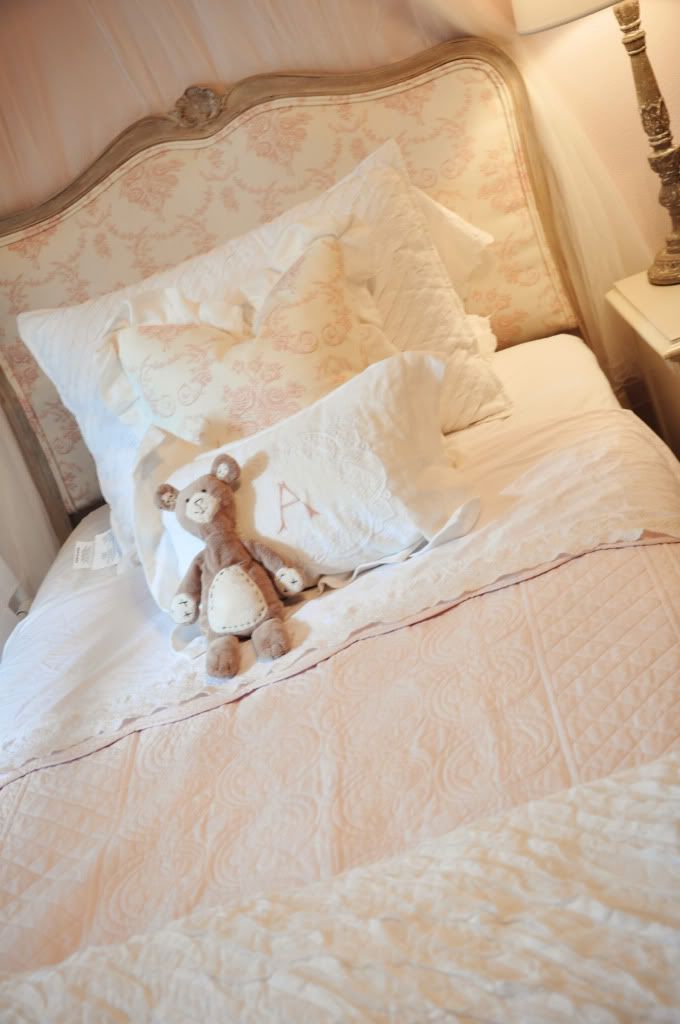
The ruffled white quilt is from West Elm
Photobucket

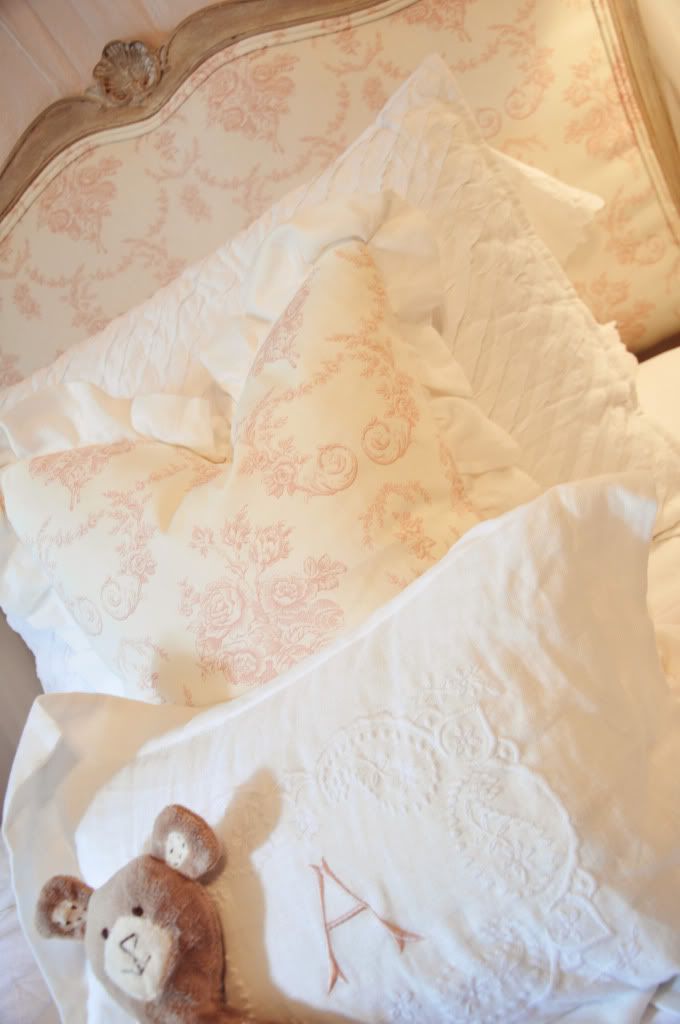
The pink matelasse and embroidered sheets are from Rachel Ashwell's Simply Shabby Chic line at Target. LOVE it and love the price.
Photobucket

Photobucket


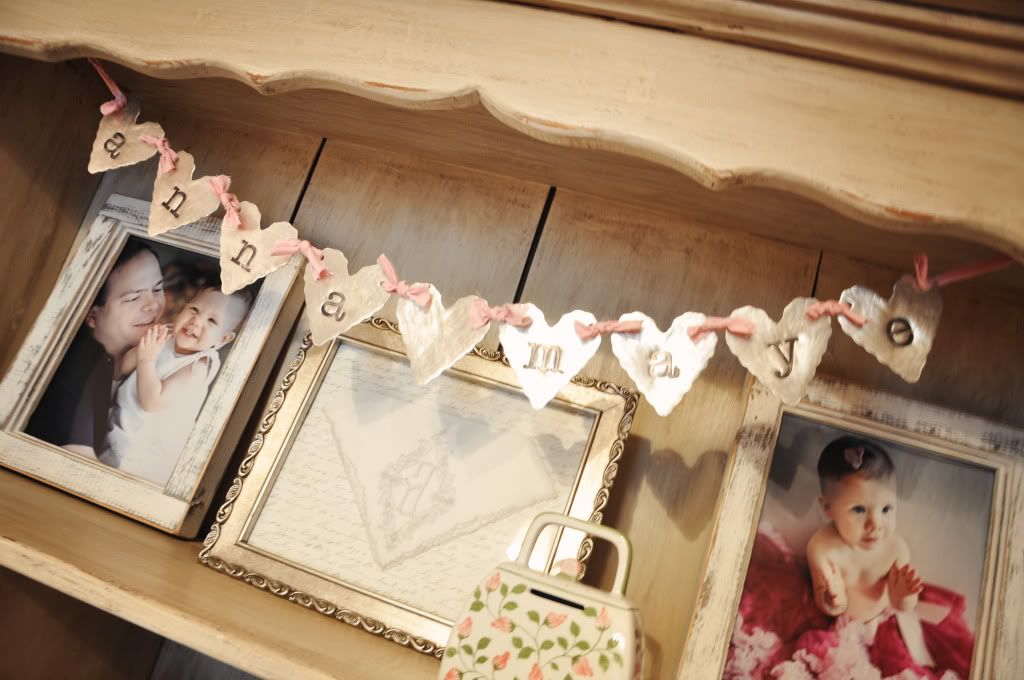
The metal banner is from the ever-popular Lisa Leonard. I fell in love the minute I saw it on her website and knew it would be a great girly keepsake. She has some precious creations on her website!

Photobucket