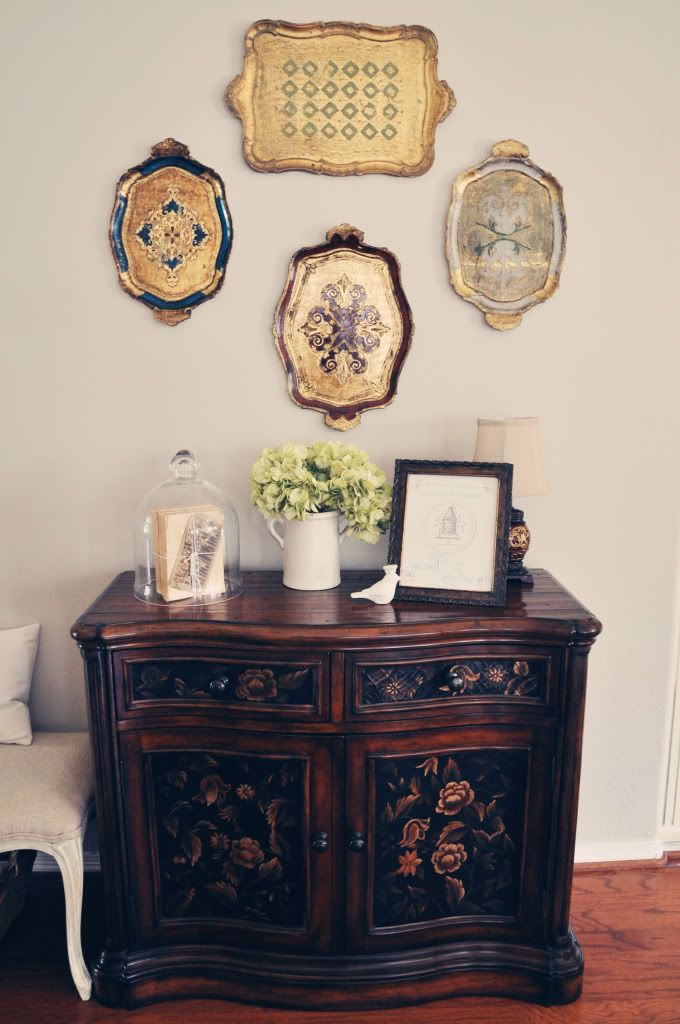
Well, this is a lame first post after disappearing for almost 2 months but I have to start somewhere!
I've done some little projects here and there. I have forgotten or been working too fast to take pictures of most. The kids are starting MDO this week so maybe I'll have more time to blog!
We recently took a summer holiday to visit my inlaws in California. They have lived in Northern California for the past 8 years or so. I always hear about and see what my thrift-consignment-store-garage-sale-loving mother in law scores at these places and I am convinced California is the best market for resale goods.
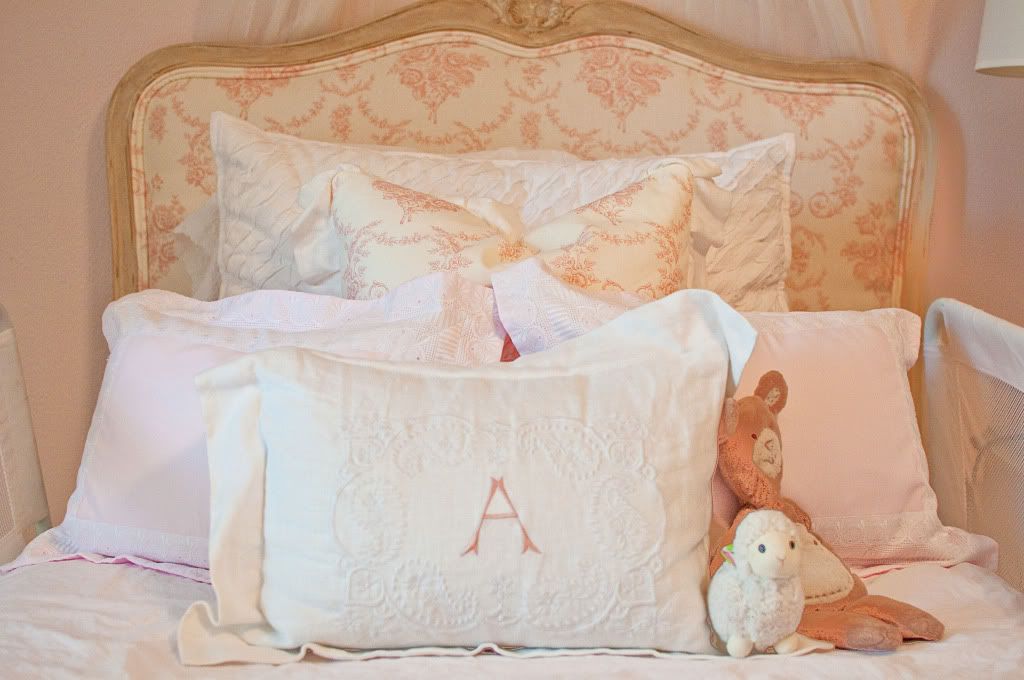
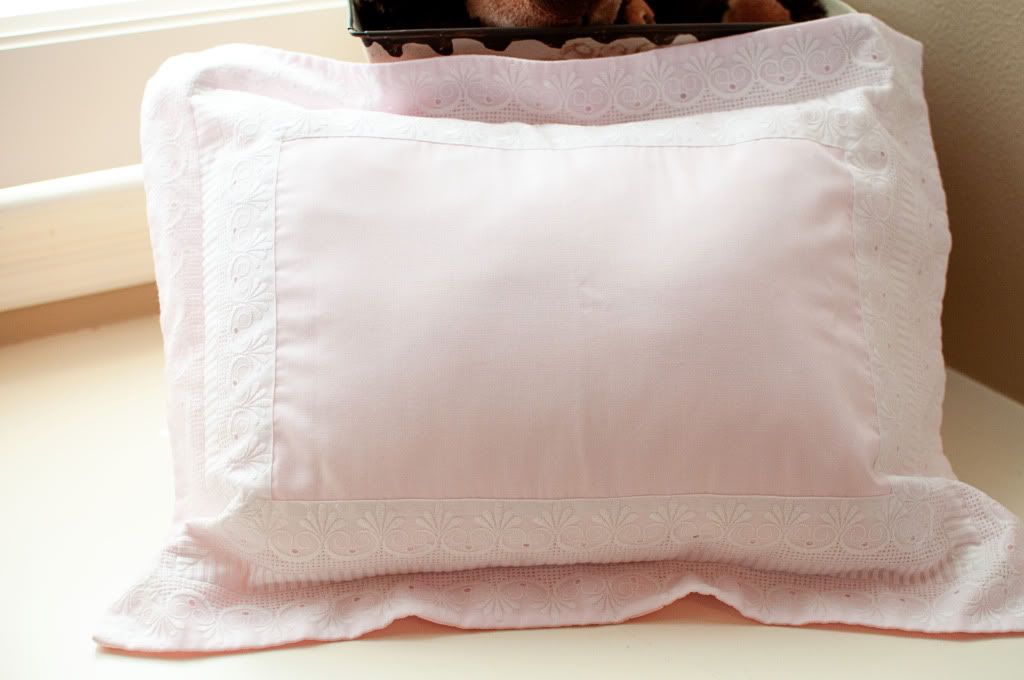
She went to a garage sale the other day and picked up a surprise for my daughter's room:
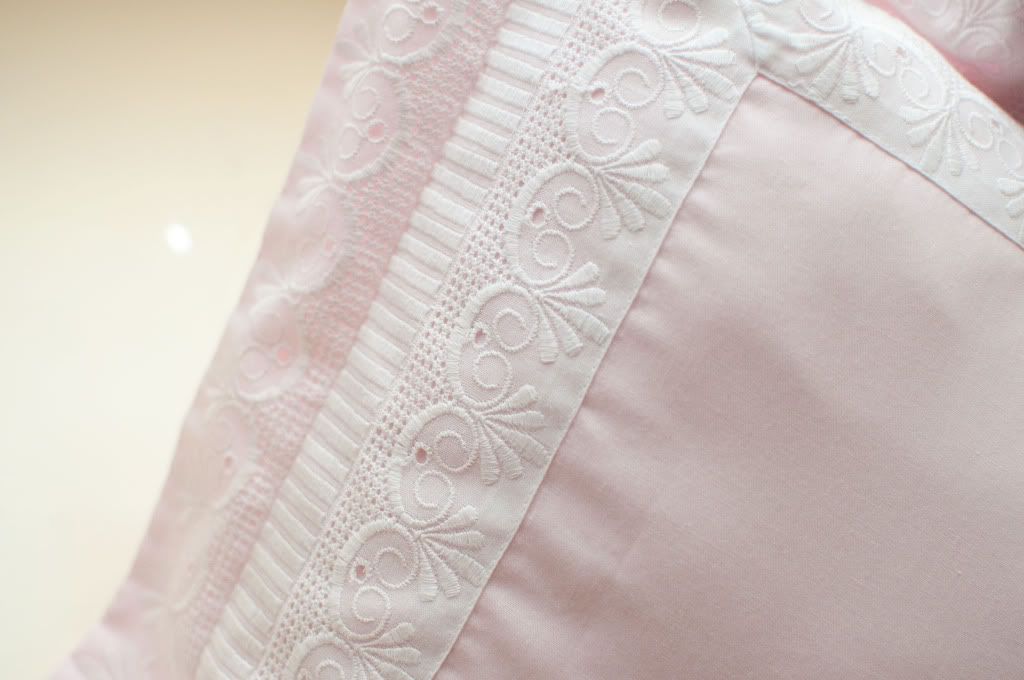
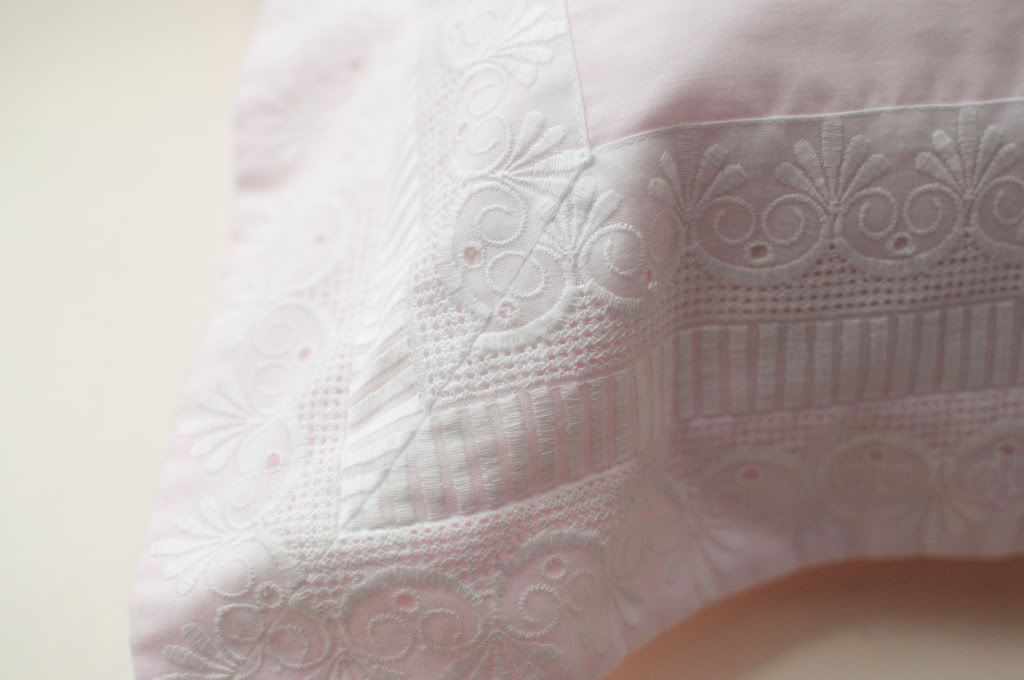
Two soft pink boudoir pillows with a white embroidered edge she thought were "just perfect" for her big girl room.
Indeed, the details are beautiful and the colors match her room perfectly.
And the woman selling them made sure Debbie knew these were not just any boudoir pillows, they are made by Frette, a 150 year old European luxury linen company.
And can you guess how much these pillows were? $5 each....HOMERUN!
Thanks to Debbie for keeping an eye out for us. Wish I could hit more garage sales in California!
Monday, September 5, 2011
Friday, July 15, 2011
Gray and Gold: An Elegant Pairing
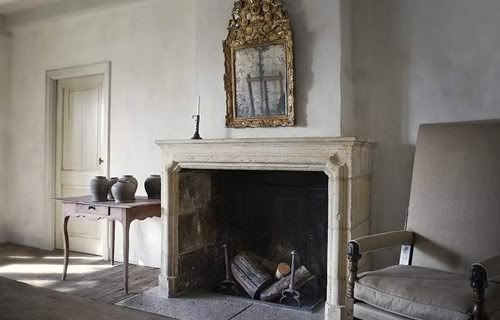
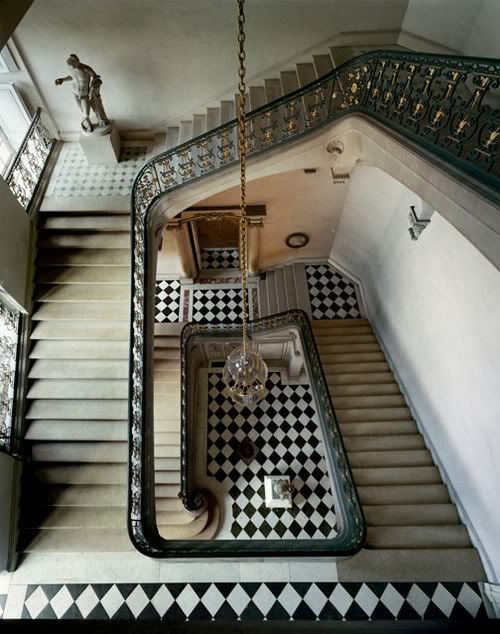
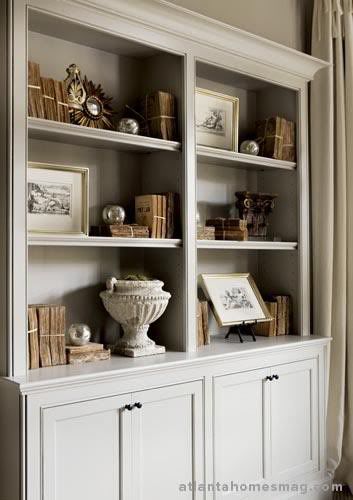
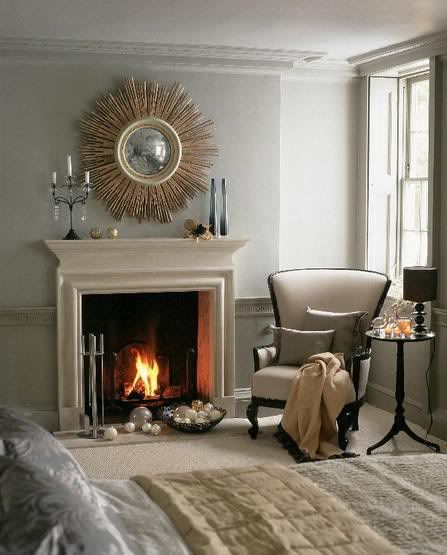
There is something I am really loving about the combination of gold with gray.
Peaceful.......
Luxurious.......
Elegant.....
My obsession with this color combo started when I was looking for a new paint color for my living room/kitchen/breakfast/entry in search of the perfect warm gray or "greige", as some call it. I needed just the right tone since I have a lot of warm tones in the wood, furniture, accessories in my house. Pairing gray (generally perceived as a cool color) with gold (a warm tone) seems strange at first but when it's the right combination.....ah, serenity now!
In my paint search, I stumbled upon a blog called A Perfect Gray (ha!) with some beautiful images....it seems I'm not the only one in search of the *perfect* gray
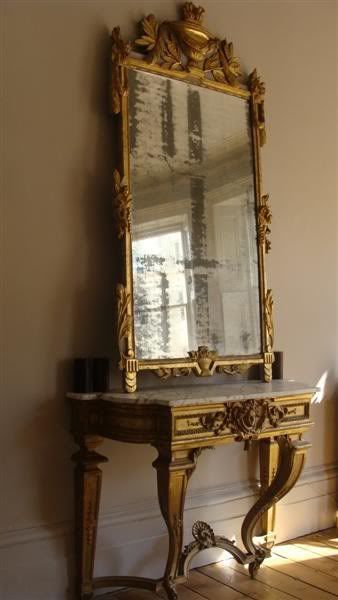
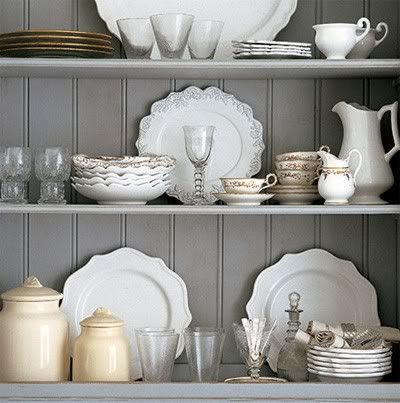
I particularly love the sunburst mirror or a gilded antique mirror against a soft pale gray. Even this china and serveware against gray beadboard are delightfully yummy....
citified.blogspot.com |
aperfectgray.com |
Luxurious.......
aperfectgray.com |
Elegant.....
My obsession with this color combo started when I was looking for a new paint color for my living room/kitchen/breakfast/entry in search of the perfect warm gray or "greige", as some call it. I needed just the right tone since I have a lot of warm tones in the wood, furniture, accessories in my house. Pairing gray (generally perceived as a cool color) with gold (a warm tone) seems strange at first but when it's the right combination.....ah, serenity now!
In my paint search, I stumbled upon a blog called A Perfect Gray (ha!) with some beautiful images....it seems I'm not the only one in search of the *perfect* gray
decorpad.com |
aperfectgray.com |
decorpad.com |
I particularly love the sunburst mirror or a gilded antique mirror against a soft pale gray. Even this china and serveware against gray beadboard are delightfully yummy....
citified.blogspot.com |
Have a great weekend!
Wednesday, July 13, 2011
Inspiration and Dreams....
Taking a breather...took the kids to this place in San Antonio, Texas and we had a great time. I would recommend it for sure if you are in the area. Lots of activities to keep the kiddos interested.
In the meantime, I'll leave you with a few blogs I read recently that inspired me.
Being in a stage of possible transition and itching for a little more space, this post at A Soft Place to Land spoke to me. Aren't we all wanting more? But if we get it will we be satisfied or will we just want a little more after that? I remember moving into the house we live in now 4 years ago, when I was pregnant with our firstborn. I had no idea what we would do with THREE bedrooms and a laundry room! (We had just moved from a 900 SF, 1 bedroom apartment in Philadelphia). Now, with 2 kids and all the stuff that goes with them, I feel a little cramped....but am I really? We probably live better than 90% of the world. Am I grateful for where the Lord has put me now? Am I really thankful? A work in progress...I can relate to Kimba's post.
Another story I loved is from Erin at Rare and Beautiful Treasures. I have beenstalking reading Erin's blog for a while and have followed her family's journey from selling their "dream home" in order to really live the life of their dreams. And interwined with it all, the story of their beautiful baby boy. I love this story because this family was living just like everyone else does but then dramatically changed their path and are starting to live purposefully with a vision. I'm just so inspired to really sit down and think about what we really want as a family for the next 10 years instead of just letting the next 10 years happen to us, ya know?
Well, I love dreaming and looking at beautfiul things as much as the next person...since I was too lazy to post any pictures, here's my Pinterest account. Feel free to follow me! I'd love to look at your dreamy pins and pictures too!
In the meantime, I'll leave you with a few blogs I read recently that inspired me.
Being in a stage of possible transition and itching for a little more space, this post at A Soft Place to Land spoke to me. Aren't we all wanting more? But if we get it will we be satisfied or will we just want a little more after that? I remember moving into the house we live in now 4 years ago, when I was pregnant with our firstborn. I had no idea what we would do with THREE bedrooms and a laundry room! (We had just moved from a 900 SF, 1 bedroom apartment in Philadelphia). Now, with 2 kids and all the stuff that goes with them, I feel a little cramped....but am I really? We probably live better than 90% of the world. Am I grateful for where the Lord has put me now? Am I really thankful? A work in progress...I can relate to Kimba's post.
Another story I loved is from Erin at Rare and Beautiful Treasures. I have been
Well, I love dreaming and looking at beautfiul things as much as the next person...since I was too lazy to post any pictures, here's my Pinterest account. Feel free to follow me! I'd love to look at your dreamy pins and pictures too!
Saturday, July 2, 2011
Dressers Be Done
Ok, have I bored y'all to tears with these dressers? Mercy!
I'm sure you are thinking: "enough with the dressers and the gray/white combo already? let's move on, lady"
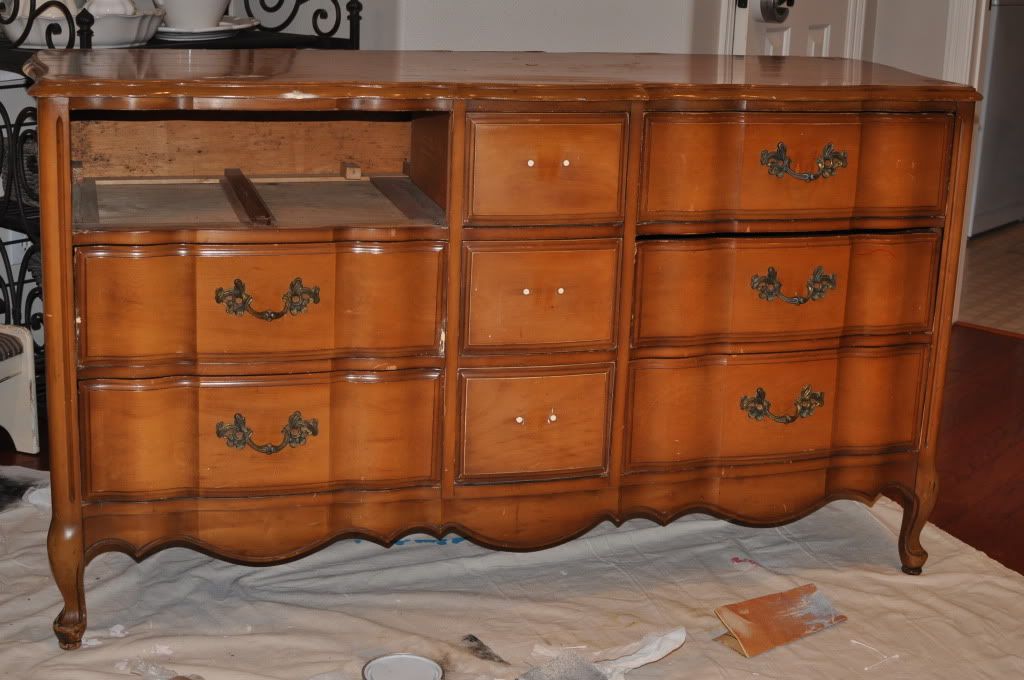
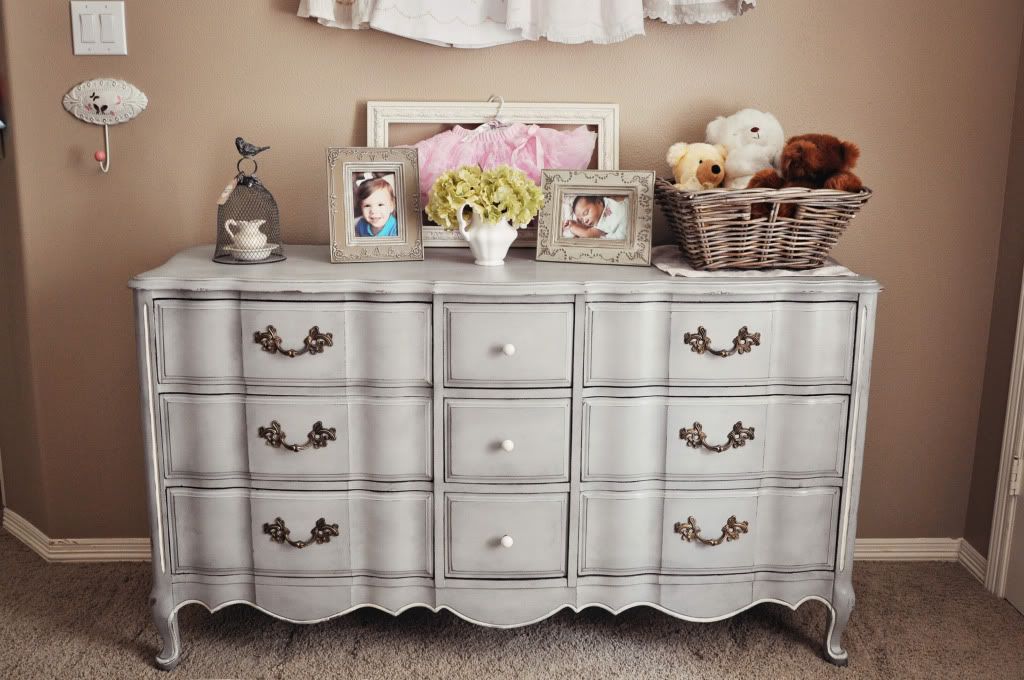
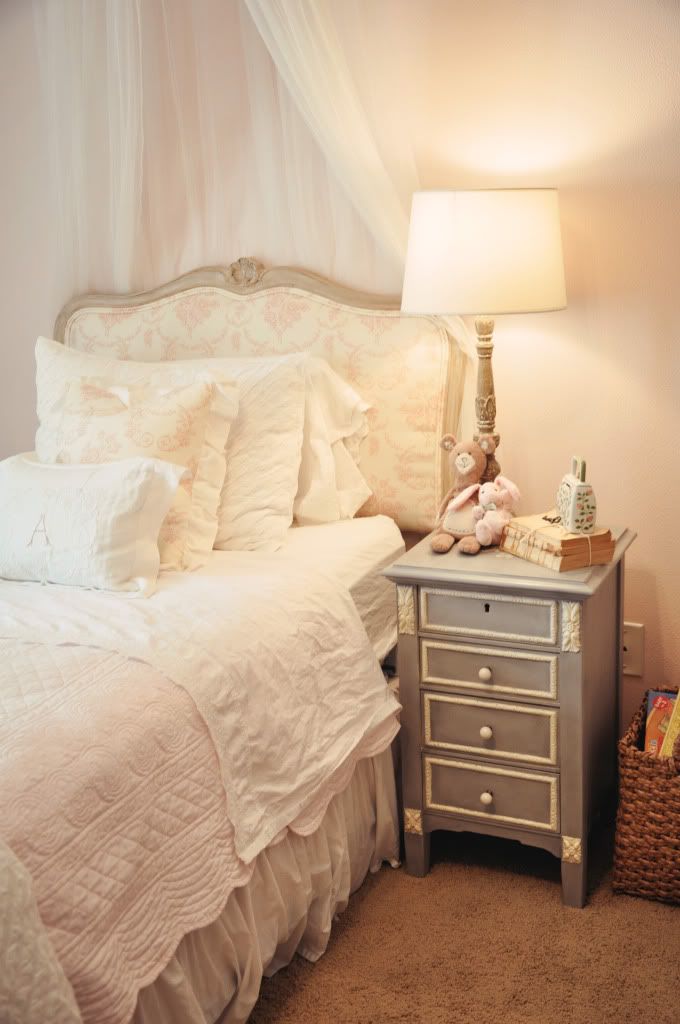
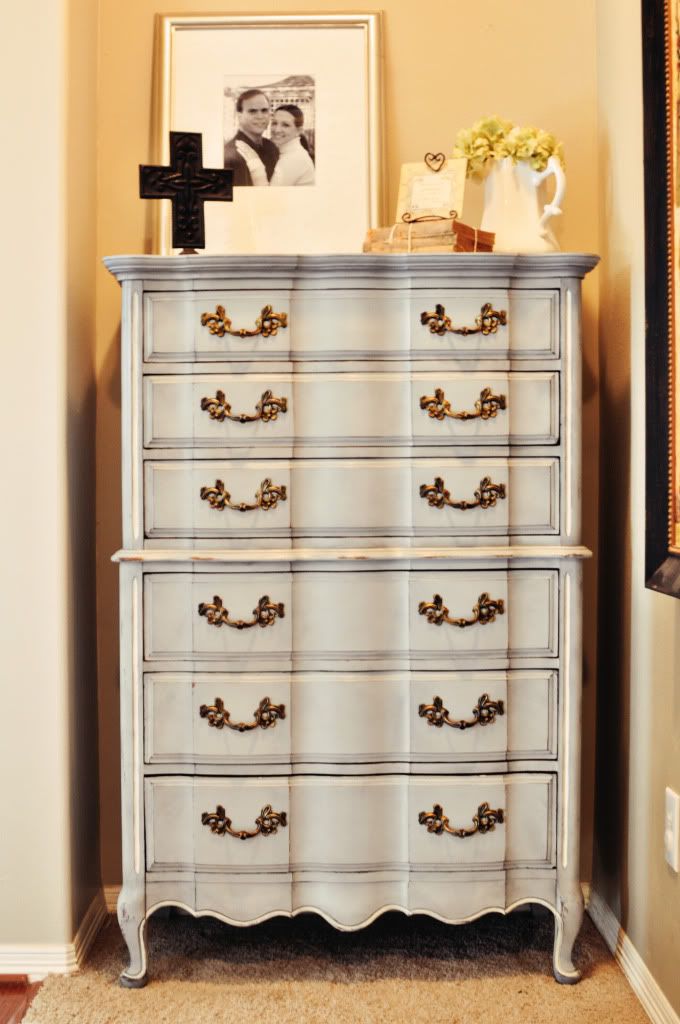
I promise this is the last post. I finally finished up the short dresser that matches this chest of drawers and moved it into my daughter's room. Also,set up her matching nightstand featured in this post. I won't kill you with more words but I am really loving the final product. Just a reminder of the before....
and after.....
across from the dresser is this:
Luuuvin it. One of these days lil mama is gonna have opinions on her bedroom so I'm going to enjoy this while I can! :)
Wednesday, June 29, 2011
Side Table Redo
This Craigslist chest of drawers/dresser combo has turned our house upside down as I squeeze the absolute final pieces of furniture I could possibly fit into our house. Until I have final pictures of the dresser that match this chest of drawers. I will show you a quickie I painted.
Said dresser will go in my daughter's room which I just finished putting together.
The changes never end.....
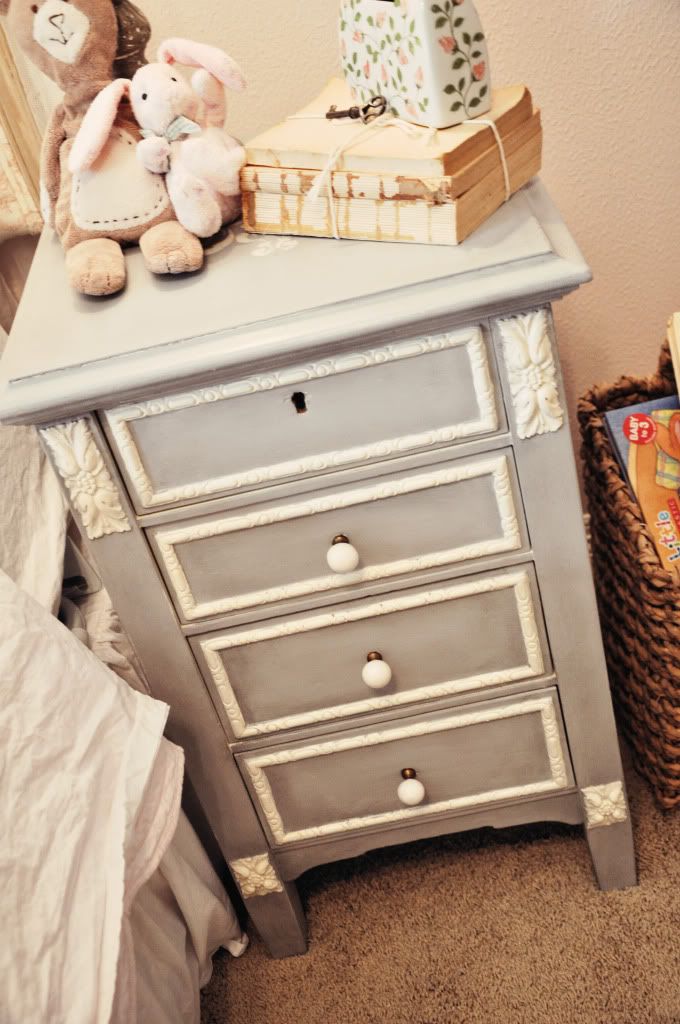
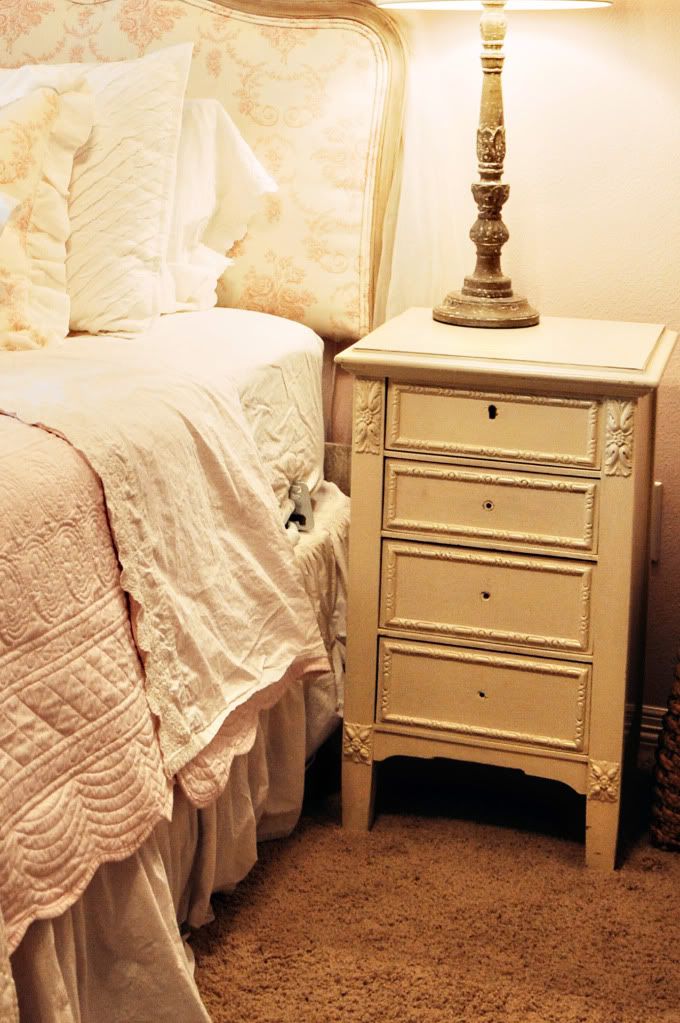
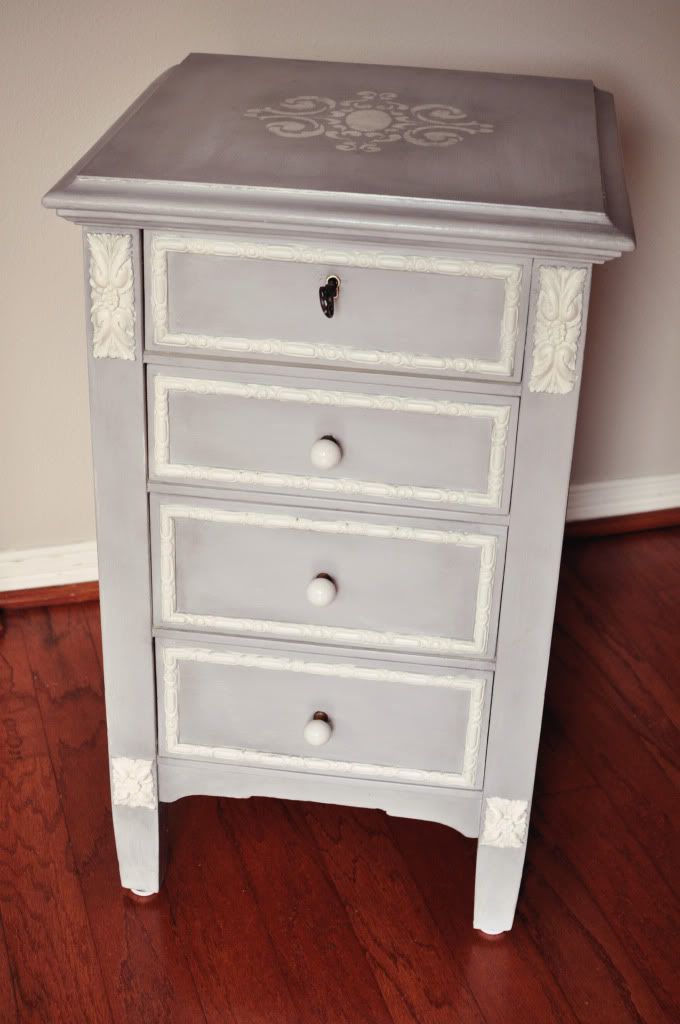
Since the dresser is gray I decided to paint her little bedside table to match. It's been sitting there without hardware looking sad. This little table and it's twin belonged to my grandmother. My mom painted them years ago and they sat happily in my bedroom when I lived at home. Before painting every thing in sight was a fad, my mom was a beast with a brush and latex paint.
I decided to freshen one up for my little girl....
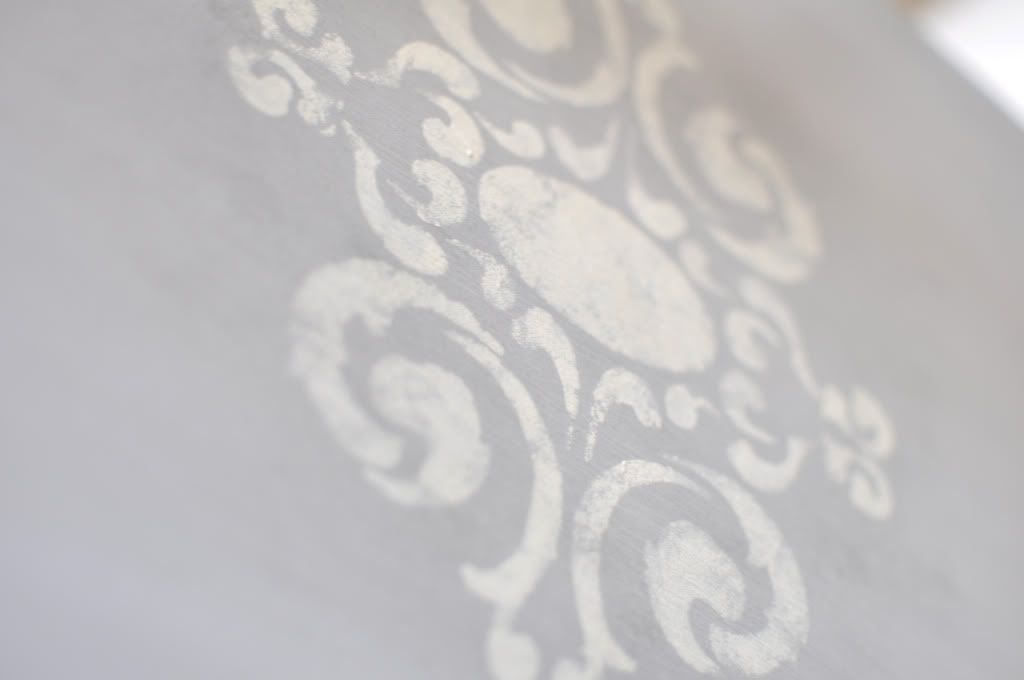
In true Lori fashion, I had to embellish the top (I have an embellishment addiction)....
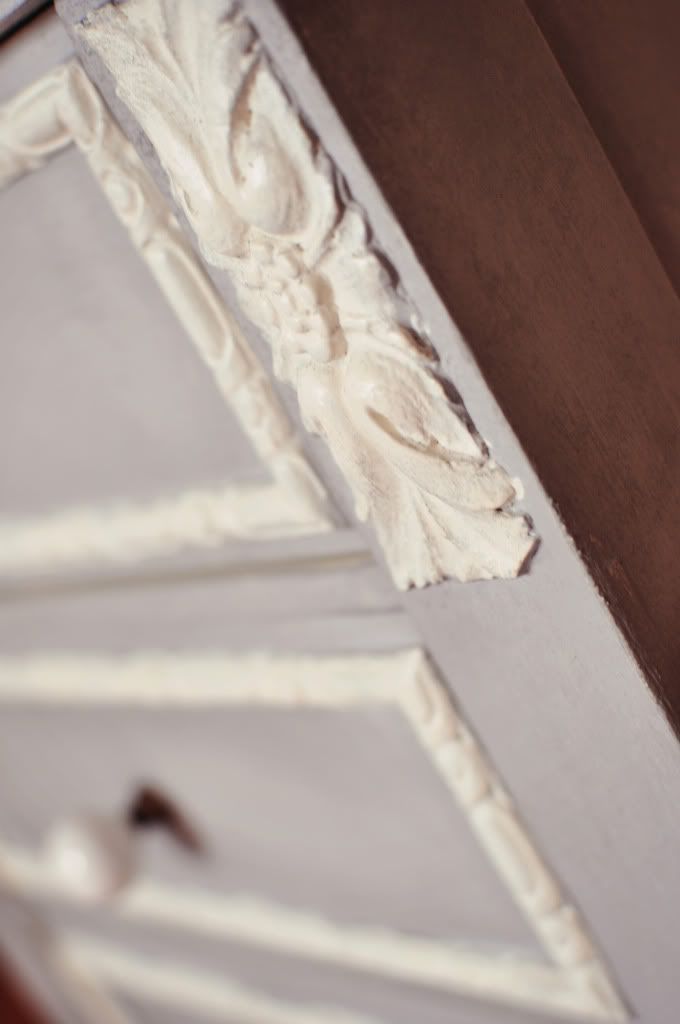
Such beautiful details were begging to be celebrated!
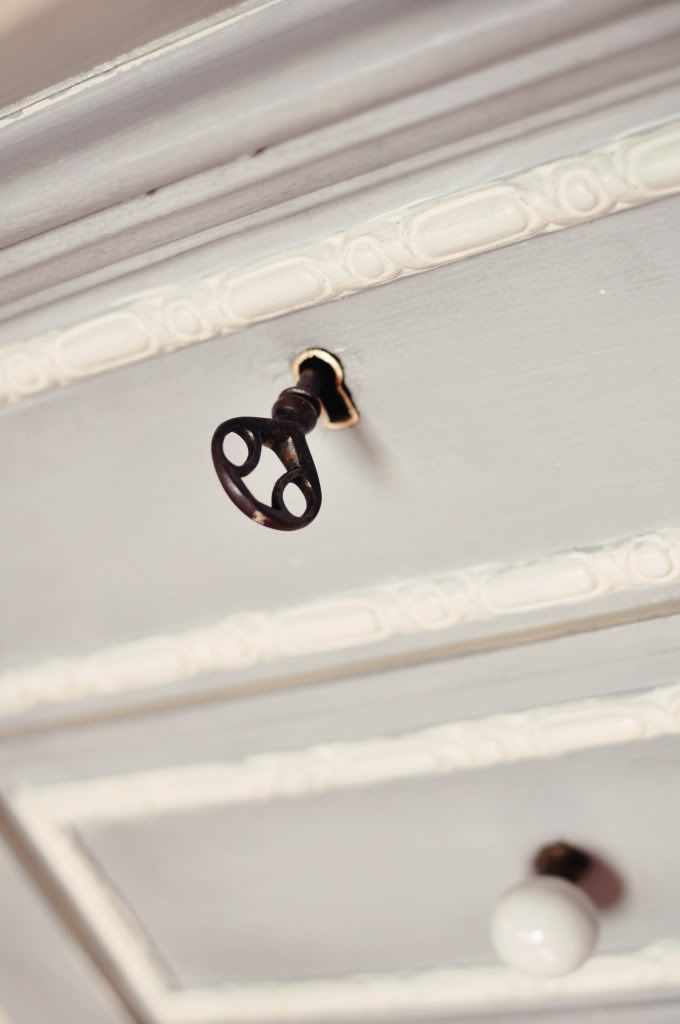
I am amazed the original skeleton keys have not been lost after at least 70+ years! They are so pretty....
Said dresser will go in my daughter's room which I just finished putting together.
The changes never end.....
Since the dresser is gray I decided to paint her little bedside table to match. It's been sitting there without hardware looking sad. This little table and it's twin belonged to my grandmother. My mom painted them years ago and they sat happily in my bedroom when I lived at home. Before painting every thing in sight was a fad, my mom was a beast with a brush and latex paint.
I decided to freshen one up for my little girl....
(Paris Gray & Old White)
In true Lori fashion, I had to embellish the top (I have an embellishment addiction)....
Such beautiful details were begging to be celebrated!
I am amazed the original skeleton keys have not been lost after at least 70+ years! They are so pretty....
Sunday, June 26, 2011
Chalk Paint Random Tips
~ One coat covered very well on the dresser project. I suppose because I was going from a medium color wood to gray. On my side table project I did 2 coats since I was painting Old White over dark wood. It covered the dark wood much better after 2 coats.
~ On large surfaces like the side or top of a dresser try to use brush strokes going in the same direction. I feel like this really helps with a smooth finish once the chalk paint dries.
~ Don't panic with the streaky look of the chalk paint when wet, it dries beautifully even.
~ I applied the clear wax with an Italian Wax brush.
I noticed when you apply the clear wax with this brush (and probably any other bristle brush) the bristles scrape the chalk paint ever so slightly to reveal the layer below. Maybe if I would've done 2 coats on the dresser this wouldn't have happened so much. In my opinion, it adds to the character of the piece but FYI: If you have a super nasty color underneath that you absolutely do not want to peek through, I would go ahead and hit your piece with 2 coats to minimize any chance of scratch thru. But it is very minor. For the dresser, I knew I was going to distress the edges any way so this wasn't too much of a concern. But just so you know....
~ The wax brush is a chunk of change at about $35 so I use it for my clear wax and use a cheap chip brush for the darker waxes like the Fiddes Jacobean and the Hannant's Rustic. That was a great tip from the man at the specialty store where I bought the paint. If you're going to invest in an italian wax brush use it exclusively for the clear since you'll probably be covering more surface area with that one.
~ Make sure you put the clear wax on before you put any dark wax on. If you haven't sealed the chalk paint with a clear wax, it will stain the chalk paint and you won't be able to wipe it off if you get it too dark
~ If you do get too much dark wax and the baby wipes won't clean it up sufficiently you can add clear wax over the dark wax and rub out the dark wax. It almost acts like an eraser. Isn't that wacky? It works....I tried it.
~ Lastly, this paint is extremely artistic which I love. I used to paint with oils and acrylics and I bet many of you out there who like to do this sort of thing are artsy as well. You can do all sorts of creative things so just dive in and experiment. The wonderful thing about these waxes and the chalk paint is that you can just paint over the "oops" area with the chalk paint and start over. So you really don't have much to lose except for a little time.
I hope that wasn't too much rambling about chalk paint. I hope you all who say you have some and haven't used it just go for it! Let me know if you paint something...I'd love to see it :)
Good luck and happy painting, friends!
Dresser Play-by-Play
Chalk paint: O, how I love thee....let me count the ways....
Let me tell you about my prep work:

That's it...that's all...no primer....no sanding.....no being banished to the garage in the 100 degree summer heat. Just wipe it down to get the dust off and get to the fun part! I use my trusty Purdy brush and go to town indoors because the stuff doesn't smell.
Mr. Wooly happened to be working at the kitchen table and looked up after about 20 minutes and said "You know, I don't know much about paint (**ahem** nor do I care to), but I can't believe how well that stuff covers and it doesn't stink" It took me 45 minutes to 1 hour to paint the entire chest shell and drawer faces.
One coat Paris Gray
Details Old White
Apply a thin, very thin coat of Hannant's Clear Wax
distress the edges with a sanding block
wipe down with baby wipes again
Apply dark wax sparingly, keep some wipes handy to wipe away if you get it too dark
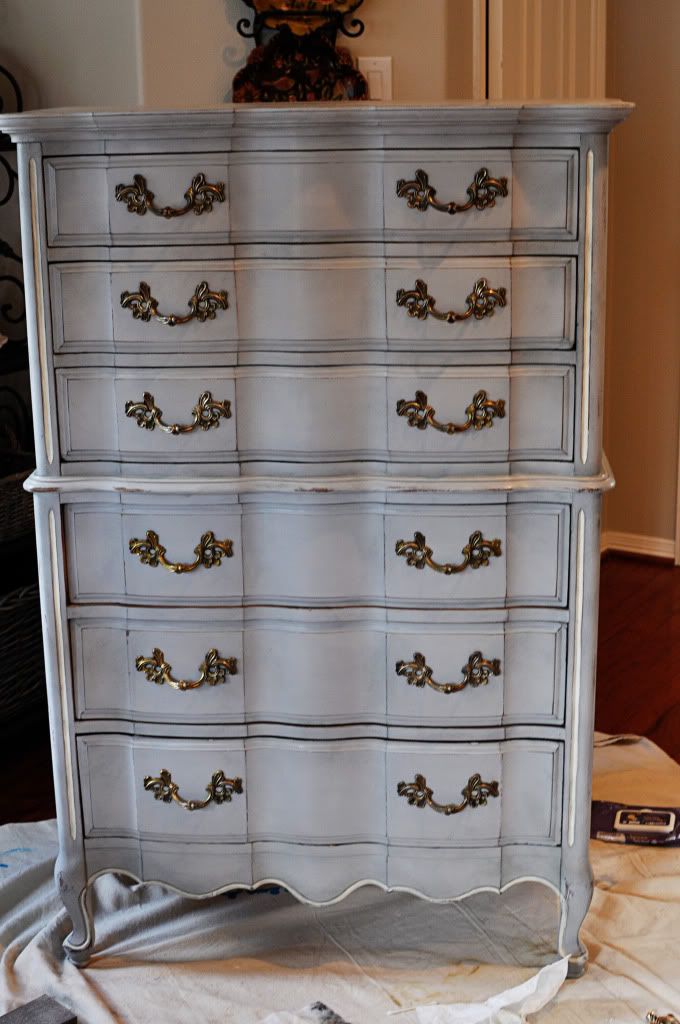
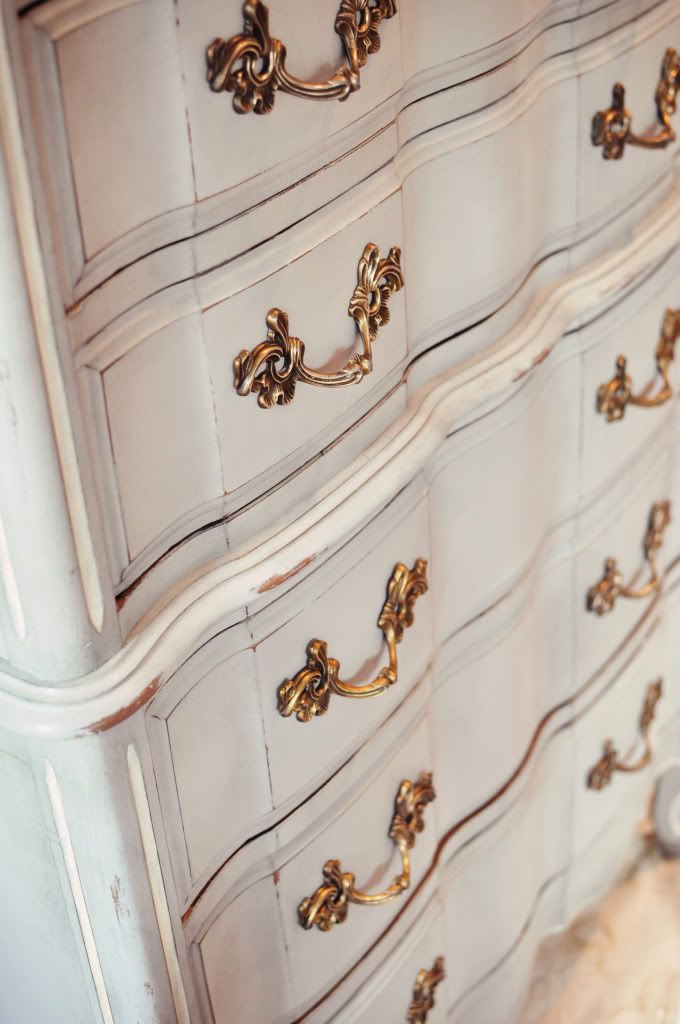
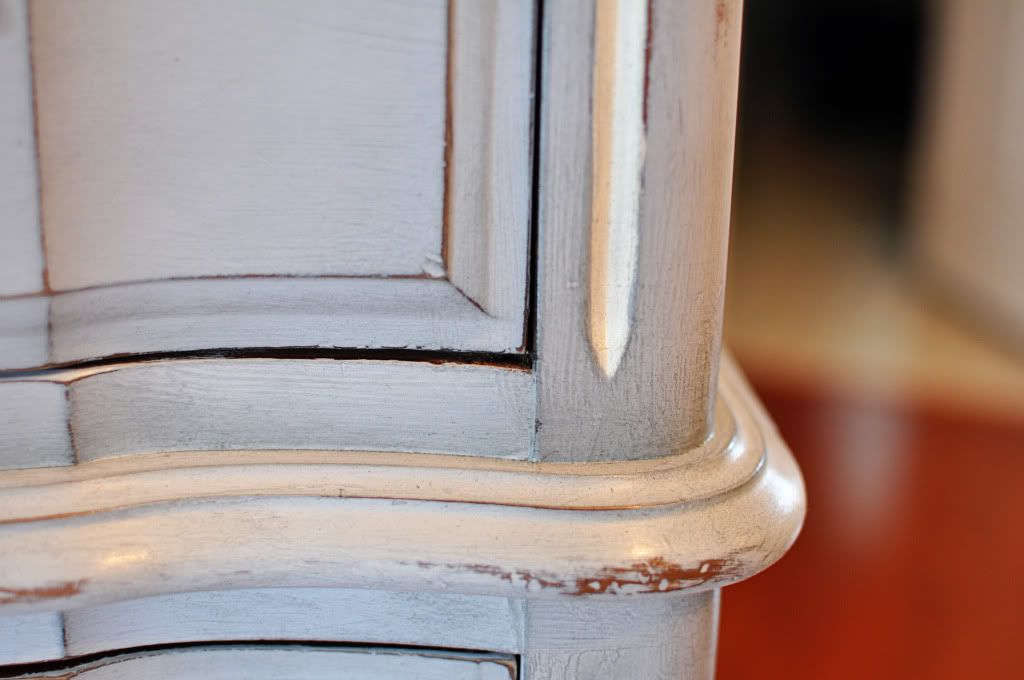
Fiddes & Sons Jacobean wax adds the Double D factor: Dirty and Depth. Use sparingly in corners, on edges. Pretty much anywhere I would normally use a wipe-off type glaze, apply the dirty wax. A great tip from Shaunna's wax video tutorial is to dip your brush in the wax and then wipe your brush off. This is where I have made mistakes in the past. A little goes a looooong way with the Jacobean color. It's basically ink black in the can. Here is a picture of the dresser, top part with the dirty wax treatment, bottom part just painted with clear wax
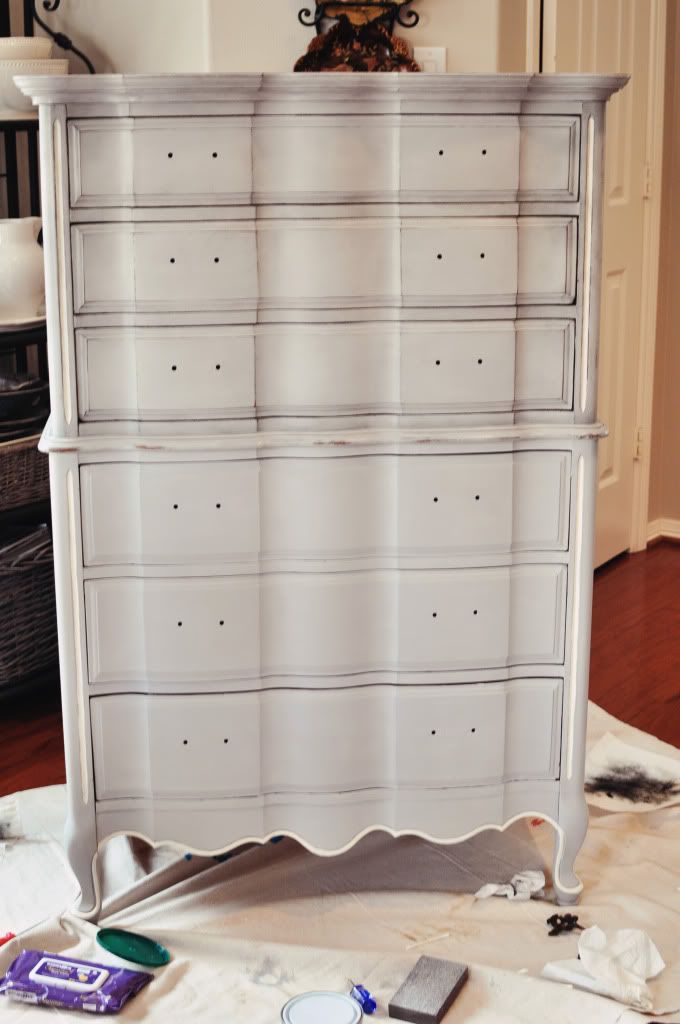
See how the bottom looks great but just a little flat. Like it's been freshly painted but doesn't have that extra umph. The top has a little more depth to it. A close up of top/bottom difference:
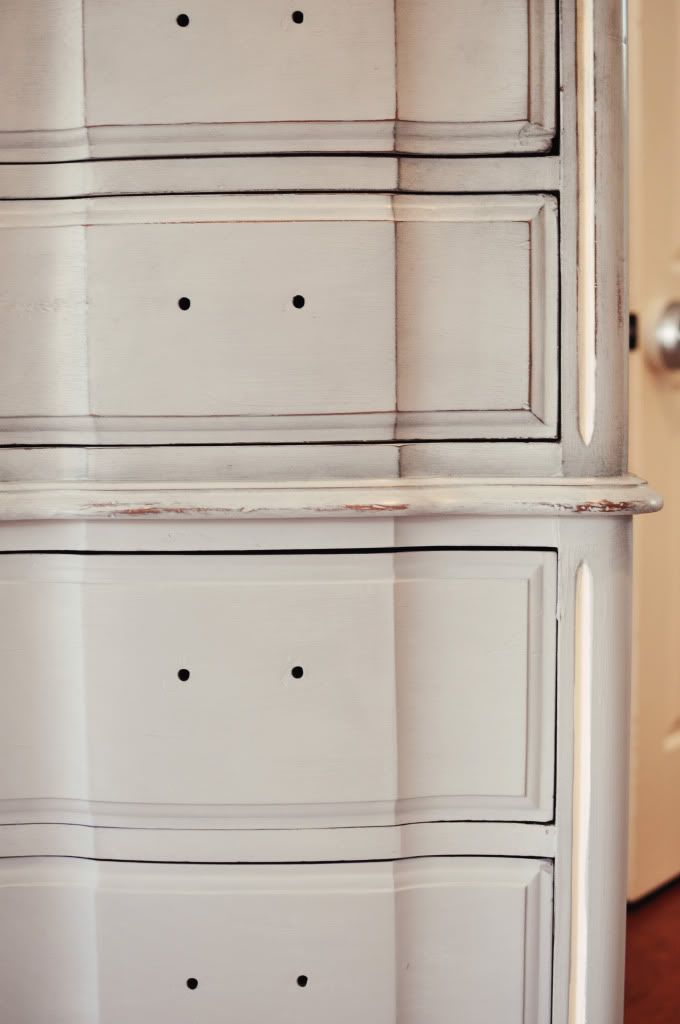
Mmmm....dirty wax is good
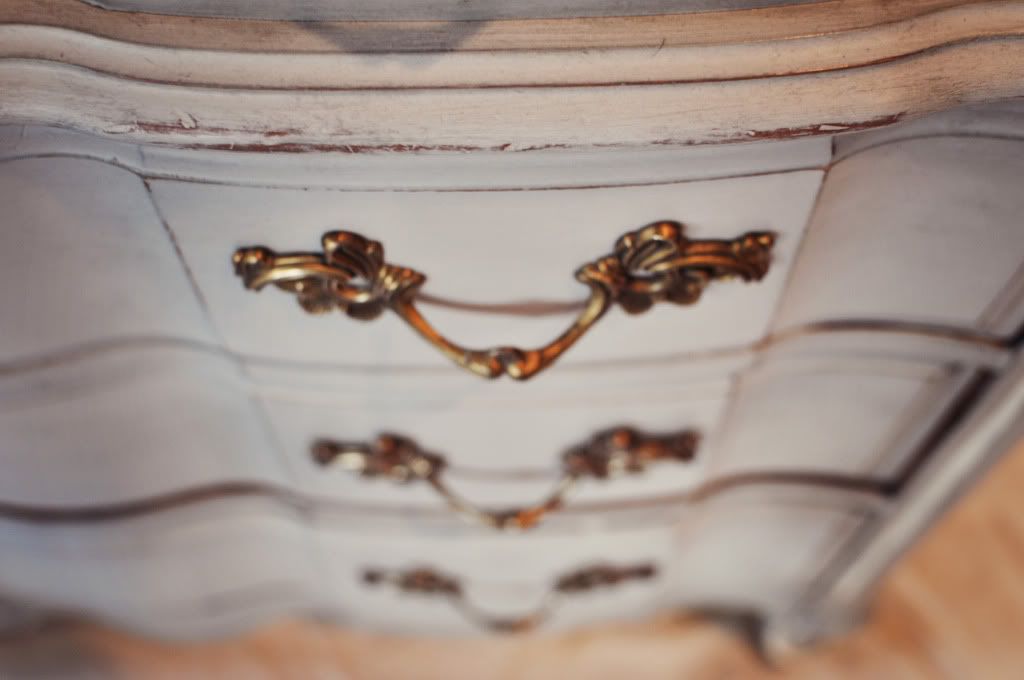
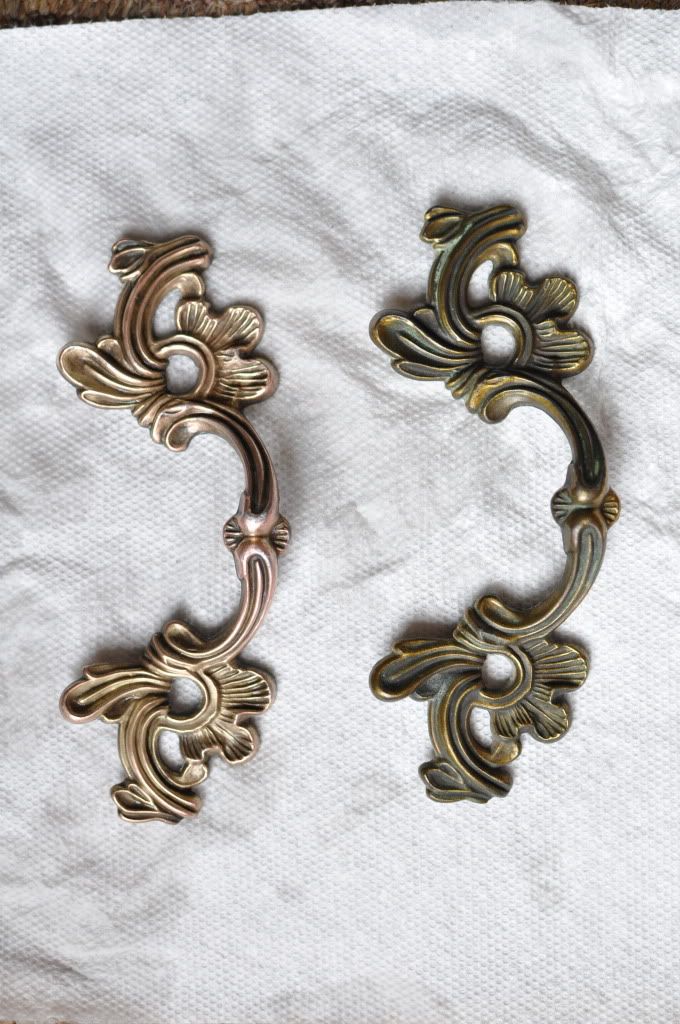
The hardest and most time consuming part of this whole project was cleaning those crazy tarnished brass hardware fixtures. Man ALIVE! I wanted to scream. It took way too long. I researched how to do it online. First I determined that the hardware was brass and not brass-plated. If a magnet sticks = brass plated, no magnet sticky = brass. There is a difference in cleaning methods.
First I washed them all in warm soapy water, as suggested by The Internet. Ha! That did nothing for me. Then I tried a concotion of 2 tblsp lemon juice + 2 tblsp white vinegar + enough baking soda to make a paste and scrubbed them with a toothbrush. A little better. I finally caved and bought some Brasso and that helped. After a lot of polishing I washed and scrubbed with soap and water again and they did come out much better. But for 12 drawer pulls that was a lot of work!
Saturday, June 25, 2011
Somebody Stop Me!!!!!!!!!
I know it's been a while but I have an excuse....a good one....
First, I need to confess that I just need to stop looking at Craigslist. I need a filter on my computer to keep me away from that website. Soon my house is going to look like a junked up antique store with pieces of furniture piled on top of each other.
Would you go visit these?
(pardon the blurry Craigslist pictures)
Oh.....
.....but I did.....
....and I bought....
.....for $50....BOTH for $50!! That's my excuse for being MIA
I don't have a proper "before" photo because I just got so dang excited and started painting but basically this:
and this:
turned into this:
************************{{sigh}}************************
I think I am in love with chalk paint after all. This is my 5th project and I think I finally got the hang of it. More on the process later....
The after picture is actually a bit blurry and has weird shadows but I couldn't wait to take some glamour shots of her. I made my husband (and his friend who happened to drop by for a visit) stop for a moment of silence to admire the transformation. Let's revel in the details, shall we?
Oh, hardware, how stubbornly tarnished you were...
but it was worth the 3 step process to get you shiny again!
Let's not forget, I have a dresser I need to paint also now!
Can paint change your life? I think Annie Sloan is my new BFF....
Thursday, June 16, 2011
Bits O Honey
Here's some "other beeswax" for you.....
I don't know about you but around our house the summer months foster a lot of "togetherness" with my kids (*insert crazed smile here*). I love our children but it is easy for me to slip into negativity and be quick tempered when I am repeating myself for the 1000th time and breaking up fight #113 of the day. All the while, encouraging my own kids to "use kind words!!"
I read this verse in Proverbs this morning and was inspired to create some digital art with it that I could see daily to remind me of how my attitude should be, not only with the kiddos, but with my husband, friends, and others too.
I also happen to love any decoration having to do with bees since our last name starts with the letter "B". So I came up with this little thingy using graphics from the beloved Graphics Fairy. I just love her site and all the beautiful images she shares for FREE!
Mmmmm..."sweet to the soul and healing to the bones" I just love that visual!
In the spirit of sharing you are welcome to download this image here if you need the same inspiration I do! I think that's OK with Photobucket? Someone tell me if I'm doing something wrong here! This is my first attempt at a download like this. It should be all ready to go in 8x10 format, for your printing pleasure....
I put mine in an old, unused frame and have it out for us all to see.
May the Lord use my words to sweeten someone's precious soul and heal their weary bones!
Sharing at
Subscribe to:
Posts (Atom)